
Winter hair care routine for curly hair frizz — if your curls have ever met central heating and lost, you are not alone. Winter is the hardest season for curly hair: cold air outside, dry heated air inside, wool hats, scarves and static, all working together to steal moisture and turn definition into frizz. But curls can win winter without losing their pattern, and this guide shows you how.
In this guide you will find 17 winter hair care routines for curly hair, each one practical and encouraging, with product types — not brands — named so you can use what you already own. You will learn why winter frizz happens, a wash-day routine step by step, how to choose between leave-in, cream and gel, how to sleep on silk and fix hat hair, and a 7-day routine plan you can follow from Monday to Sunday.
Why Winter Frizz Happens — the Science, Simply
Frizz is what happens when the outer layer of the hair — the cuticle — lifts and lets moisture in and out unevenly. In winter, the air outside is cold and dry, and the air inside is warm and dry, because central heating removes moisture from the air. Curly hair is naturally drier than straight hair, because the oils from the scalp have further to travel down a curl, so winter hits it hardest. The result is a cuticle that lifts, a curl that loses definition, and frizz that appears the moment you step outside.
The fix is not one product but a routine: moisture in, moisture sealed, and friction kept low. That means washing less often, conditioning more, sealing with a cream or a gel, protecting the hair at night with silk, and keeping hats and scarves from rubbing the curls. The science is simple — dry hair frizzes, moisturised hair does not — and every routine in this guide is built on that one idea. You do not need expensive products; you need the right types, used in the right order, and a little patience while your curls adjust.
1. The Wash-Day Reset: Cleanse, Condition, Seal
The wash-day reset is the foundation of every winter curl routine. Wash with a sulphate-free shampoo, or co-wash with conditioner if your hair is very dry, then apply a rich conditioner and leave it on for three to five minutes while you finish your shower. Rinse with cool water to close the cuticle, then apply a leave-in conditioner to soaking wet hair, followed by a curl cream, and seal it all with a gel. The order matters: water first, then leave-in, then cream, then gel — each layer locks the one before it in. Do this once or twice a week, and your curls will stay moisturised and defined for days. The mistake to avoid is washing with hot water, which strips moisture and lifts the cuticle — cool water is your curls’ best friend.

2. The Leave-In Conditioner Routine
A leave-in conditioner is the single most important product in a winter curl routine, because it is the moisture your hair keeps all day. Apply it to soaking wet hair, raking it through with your fingers so every curl is coated, and use more than you think you need — winter hair is thirsty, and a leave-in is the product that quenches it. The product type to look for is a creamy leave-in, not a spray, because a cream coats the hair more evenly and lasts longer. If your hair is fine, use a lighter leave-in and less of it; if your hair is thick, be generous. The leave-in should be the first product after washing, every single wash day, and it is the step you should never skip, even when you are in a hurry.
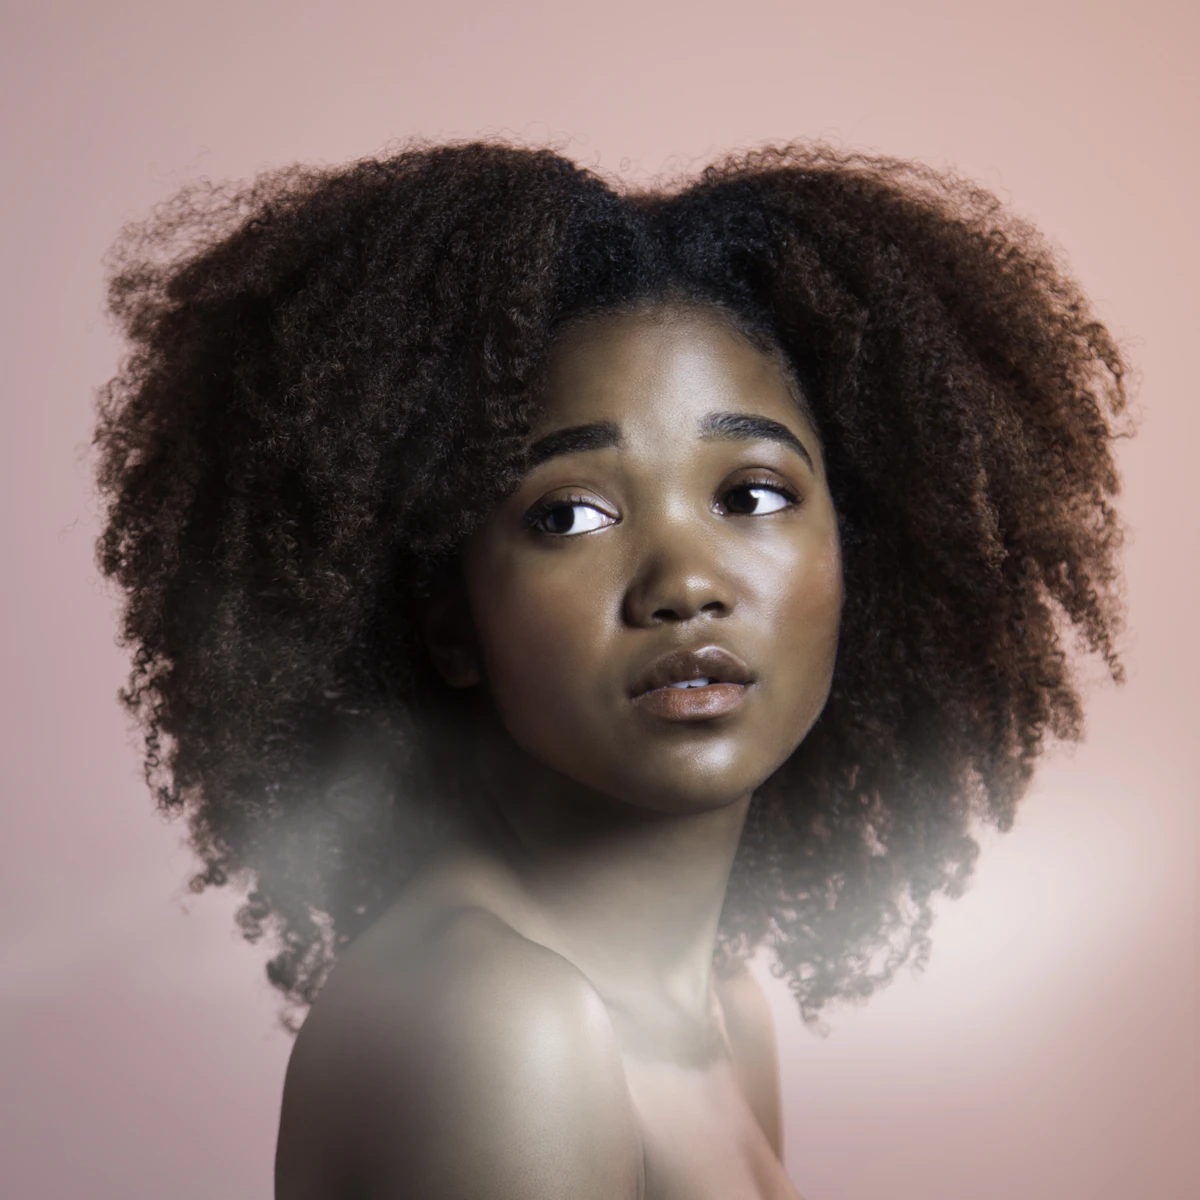
3. The Curl Cream Routine
A curl cream is the product that defines the curl and fights frizz, and it works best on top of a leave-in. Apply it to wet hair after the leave-in, smoothing it over the curls in sections, and then scrunch the hair upwards to encourage the curl pattern. The cream should be rich enough to coat the hair but light enough not to weigh it down — a good test is whether your curls still bounce after it dries. If your hair is fine, use a pea-sized amount per section; if it is thick, use more. The mistake to avoid is applying curl cream to dry hair, which will make it look greasy and weighed down — curl cream is a wet-hair product, and it needs water to work.

4. The Gel Cast Routine
A gel cast is the secret to frizz-free curls that last for days. After the leave-in and the curl cream, apply a gel to wet hair, scrunching it in so the curls are coated, and then let the hair dry completely — do not touch it while it dries, because touching it breaks the cast and creates frizz. When the hair is fully dry, it will feel crunchy: that is the cast. Scrunch it out with your hands, or with a little oil on your palms, and the curls underneath will be defined, shiny and frizz-free. The gel cast is the most reliable way to beat winter frizz, and it is the routine to try first if nothing else has worked. The product type to look for is a strong-hold gel, not a light one — winter frizz needs a strong cast.
5. The Deep-Conditioning Weekly Ritual
A deep-conditioning treatment once a week is the single best thing you can do for winter curls. Apply a rich, creamy deep conditioner to clean, damp hair, cover it with a shower cap, and leave it on for twenty to thirty minutes — the heat from your head helps it penetrate. Rinse with cool water, and follow with your usual leave-in, cream and gel. The deep conditioner replaces the moisture that central heating and cold air steal, and it makes the curls softer, shinier and more defined. The mistake to avoid is deep-conditioning on dirty hair, which stops the product from penetrating — always wash first, then treat. If your hair is very dry, do it twice a week until it recovers, then go back to once a week.

6. The Co-Wash Routine for Dry Winter Curls
Co-washing — washing with conditioner instead of shampoo — is a wonderful winter routine for very dry curls. The conditioner cleans the hair gently without stripping the natural oils, so the curls stay moisturised and the scalp stays comfortable. Co-wash once or twice a week, massaging the conditioner into the scalp and rinsing thoroughly, and use a sulphate-free shampoo once every two weeks to remove any build-up. The product type to look for is a light conditioner for co-washing, not a heavy one, because a heavy conditioner will leave residue. Co-washing is not for everyone — if your scalp is oily, or if you use a lot of styling products, you will need a proper shampoo more often — but for dry winter curls, it is a game-changer.
7. The Silk and Satin Night Routine
Silk and satin at night are the cheapest frizz insurance there is. Cotton pillowcases absorb moisture from the hair and create friction, which lifts the cuticle and creates frizz — a silk or satin pillowcase lets the curls slide instead of catching, so they keep their definition and their moisture. Even better, wrap the hair in a silk scarf or a satin bonnet before bed, using the pineapple method: gather the hair loosely on top of the head so the curls are not crushed, and cover it with silk. In the morning, take the scarf off, shake the roots gently, and refresh the curls with a little water and leave-in. The product type to look for is real silk or satin, not a shiny polyester that looks like satin but acts like cotton — the difference is in how the hair slides.

8. The Pineapple Method for Sleeping
The pineapple method is the simplest way to protect curls overnight. Gather the hair into a loose, high ponytail on top of the head — like a pineapple — using a silk scrunchie, so the curls are piled up and not crushed against the pillow. The loose ponytail keeps the curl pattern intact, and the silk scrunchie stops the elastic from denting the hair. In the morning, take the ponytail down, shake the roots, and refresh the curls with a spray of water and a little leave-in. The mistake to avoid is a tight ponytail, which will dent the curls and pull at the hairline — the pineapple should be loose enough to feel comfortable, and the scrunchie should be silk, not elastic. Combined with a silk pillowcase, the pineapple is the routine that makes day-two and day-three curls possible.
9. The Refresh Routine for Day-Two Curls
Day-two curls do not need a full wash — they need a refresh. Mist the hair with water until it is damp, not soaking, then smooth a little leave-in conditioner over the frizzy sections and scrunch the curls back into shape. If the curls have gone flat, use a diffuser on a low heat for a few minutes to reactivate them, and finish with a little curl cream on the ends. The refresh takes five minutes, and it is the routine that makes a wash-day last for three or four days instead of one. The mistake to avoid is refreshing with too much product, which will weigh the curls down and make them look greasy — water first, product second, and only as much as the frizz needs.

10. The Hat Hair Fix
Hat hair is the winter curl problem everyone knows, and it has a fix. Before you put a hat on, apply a little leave-in and curl cream to the roots, and choose a silk-lined hat, or wear a silk scarf under your hat, so the wool does not rub the curls. When you take the hat off, shake the roots gently with your fingertips, mist the hair with water, and scrunch the curls back into shape — the style will look almost as good as it did when you left the house. A little dry shampoo at the roots will lift any flatness, and a quick blast of the diffuser will restore the definition. The mistake to avoid is a tight wool hat worn directly on the curls, which will flatten and frizz them in minutes — silk between the hat and the hair is the answer.
11. The Diffuser Drying Routine
A diffuser is the curly hair dryer attachment that makes all the difference in winter. Instead of blowing the hair around, a diffuser spreads the air gently, so the curls dry in their natural pattern without frizz. Dry the hair on a low heat and a low speed, cupping the curls in the diffuser and lifting them towards the scalp, and stop when the hair is about eighty percent dry — let the last twenty percent air-dry, so the curls set without heat damage. The product type to pair with the diffuser is a heat protectant, applied before you start, and a gel cast, which the diffuser will help to set. The mistake to avoid is a high heat and a high speed, which will blow the curls apart and create frizz — low and slow is the diffuser rule.

12. The Oil Sealing Routine
Oil is the seal that locks moisture into curly hair, and it works best as the last step, not the first. After the leave-in, the cream and the gel, smooth a few drops of a light oil — argan, jojoba or grapeseed — over the surface of the hair, focusing on the ends, which are the driest part. The oil seals the cuticle, adds shine, and stops the hair from losing moisture to the dry winter air. The mistake to avoid is too much oil, which will make the hair look greasy — start with two or three drops, warm them between your palms, and add more only if the ends still look dry. Oil is also the product to use when you scrunch out a gel cast, because it stops the hair from frizzing as the cast breaks. A little oil goes a long way, and it is the finishing touch that makes winter curls glow.
13. The Scalp Care Routine
A healthy scalp is the foundation of healthy curls, and winter is hard on the scalp too. Central heating dries the scalp, wool hats irritate it, and product build-up can make it itchy and flaky. Once a week, massage a little oil — jojoba or a light scalp oil — into the scalp with your fingertips, leave it on for ten minutes, and then wash it out with a sulphate-free shampoo. The massage stimulates blood flow, the oil moisturises the scalp, and the shampoo removes the build-up. The mistake to avoid is scratching an itchy scalp, which damages the skin and the hair — massage instead, gently, and if the itch persists, use a soothing scalp treatment rather than a harsh shampoo. A healthy scalp grows healthy curls, and winter is the season to look after it.

14. The Protective Styling Routine
Protective styles are the winter curl routine that gives your hair a rest. Braids, twists, buns and updos that tuck the ends away protect the curls from cold air, friction and hats, and they mean you do not have to style the hair every day. A loose braid or a low bun, worn for a few days at a time, is a wonderful winter protective style — but keep it loose, because a tight style will pull at the hairline and cause breakage. Moisturise the hair before you put it up, with a leave-in and a little oil on the ends, and take the style down every few days to wash and re-moisturise. Protective styling is not about hiding the curls; it is about giving them a holiday from the weather, and your curls will thank you for it in the spring.
15. The Humidifier Routine
A humidifier is the most underrated winter curl product, because it fixes the air, not the hair. Central heating dries the air inside to desert levels, and that dry air steals moisture from the curls all night. A humidifier in the bedroom puts moisture back into the air, so the hair stays hydrated while you sleep, and the curls wake up softer and more defined. Run it at night, keep it clean so it does not grow mould, and pair it with a silk pillowcase for the best results. The mistake to avoid is a humidifier that is too strong, which can make the room damp and the hair frizzy in the other direction — a moderate setting, around forty to fifty percent humidity, is the sweet spot. It is a small investment that makes a visible difference to winter curls.
16. The Trim Routine for Healthy Ends
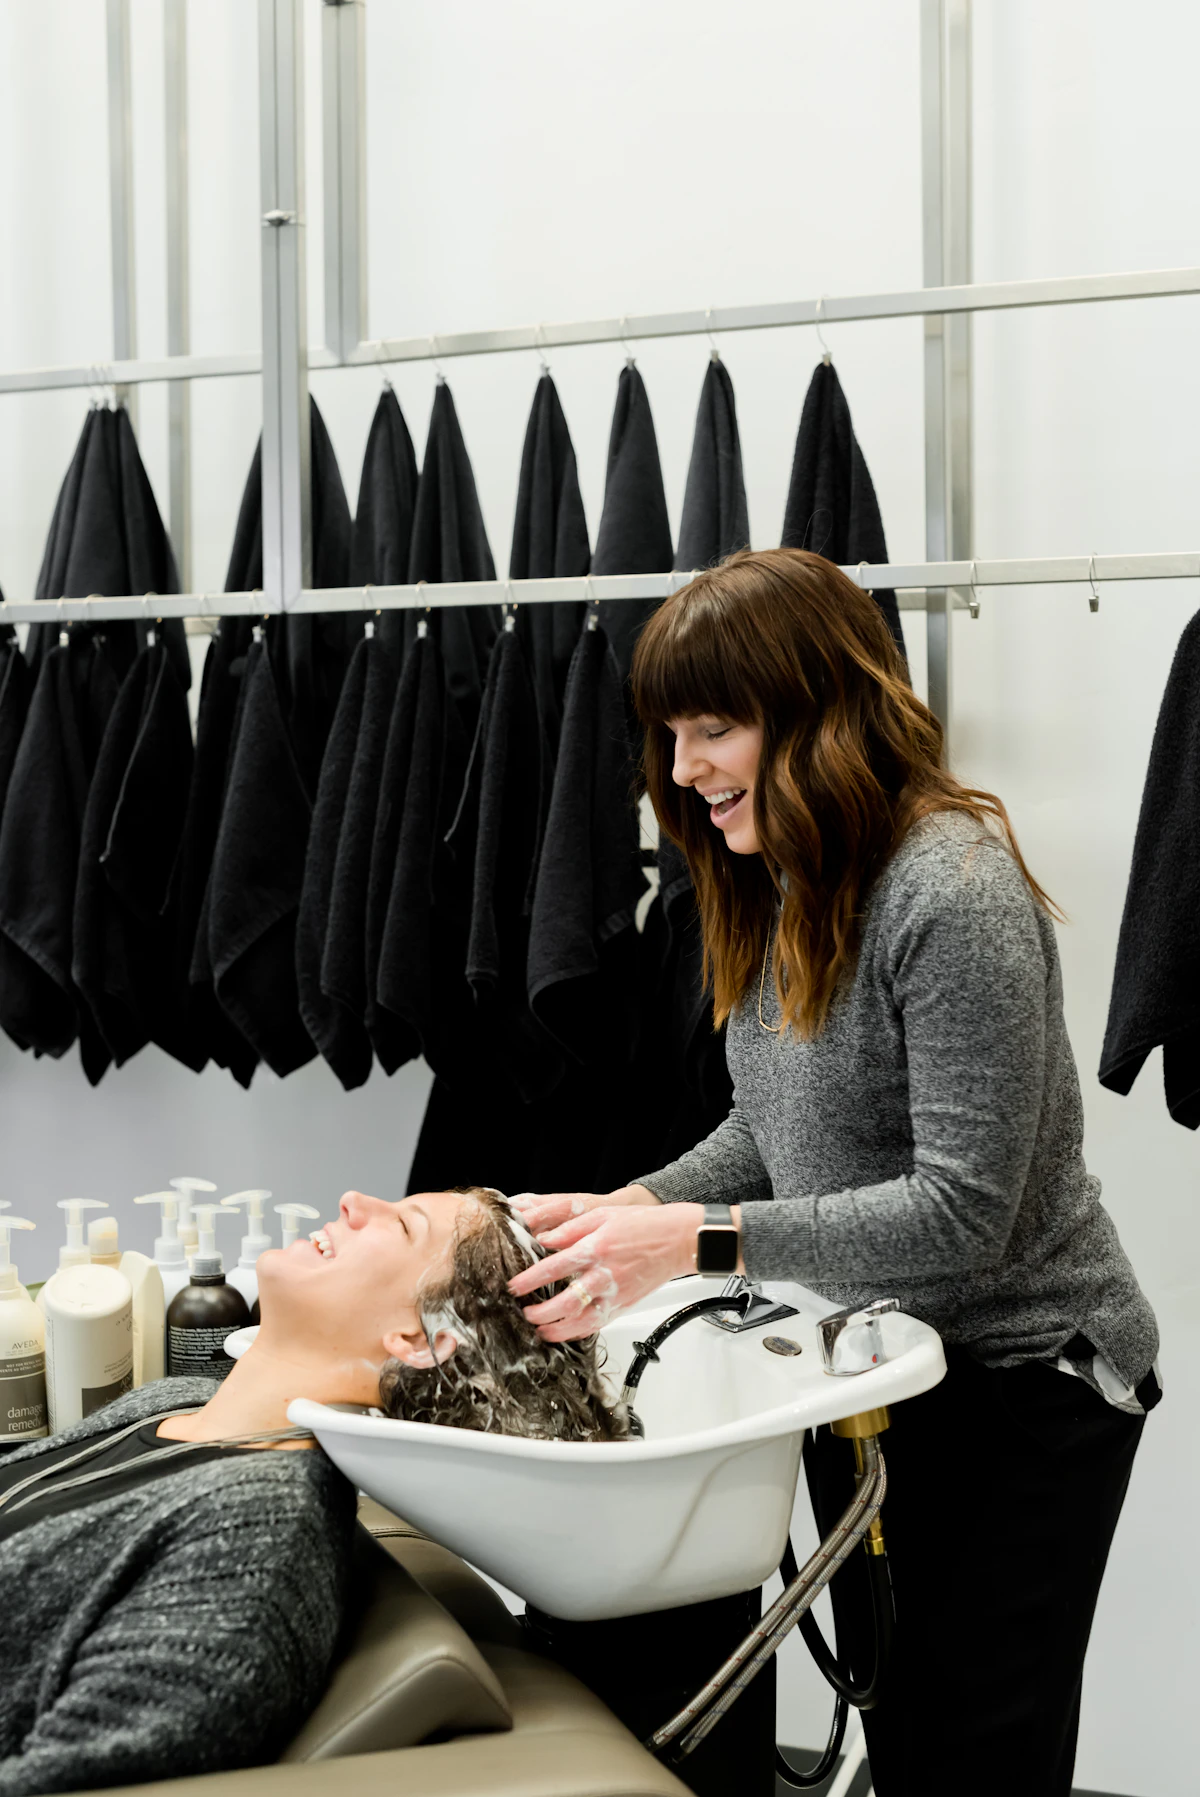
Regular trims are the winter curl routine that most people skip, and it is the one that matters most. Split ends travel up the hair shaft, making the curls look frizzy and ragged, and no product can fix a split end — only a trim can. Book a trim every eight to twelve weeks, and ask for a curly cut, where the hair is cut dry, curl by curl, so the shape is right when the hair is worn naturally. The trim should be small — just the split ends, not a big cut — unless you want a change. The mistake to avoid is a trim on wet, straightened hair, which will look uneven when the curls spring back — always cut curly hair dry, in its natural state. A regular trim keeps the ends healthy, the curls defined, and the frizz at bay all winter.
17. The Low-Manipulation Routine
Low manipulation is the winter curl philosophy: touch the hair less, and it will frizz less. Every time you touch, brush or comb curly hair, you break the curl pattern and create frizz — so the routine is to style the hair once, on wash day, and then leave it alone. Use your fingers to style, not a brush; detangle only when the hair is wet and coated with conditioner, using a wide-tooth comb or your fingers; and never brush dry curls, which is the fastest way to turn definition into a halo of frizz. If the hair needs refreshing, mist it with water and scrunch, rather than combing it. Low manipulation is the simplest routine on this list, and it is the one that makes the biggest difference — your curls will look better, and you will spend less time on them.

A 7-Day Winter Curl Routine You Can Follow
Here is a 7-day plan that puts the routines together. Monday is wash day: cleanse, condition, leave-in, cream, gel, and either air-dry or diffuse — the full wash-day reset, done properly, sets the week up. Tuesday is a refresh day: mist with water, smooth a little leave-in over the frizz, and scrunch the curls back into shape. Wednesday is a protective style day: a loose braid or a low bun, with the ends moisturised and tucked away, giving the curls a rest from the weather. Thursday is another refresh day, with a little oil on the ends if they look dry. Friday is a second wash day, lighter than Monday — a co-wash or a gentle shampoo, followed by the same leave-in, cream and gel. Saturday is a deep-conditioning day: wash, then a deep conditioner for twenty minutes, then style as usual. Sunday is a rest day: the hair in a pineapple or a silk scarf, no styling, no heat, just moisture and protection.
Follow the plan for two weeks and you will see the difference: the curls will be softer, more defined and less frizzy, and the wash days will last longer. The plan is a starting point, not a rule — adjust it to your hair. If your hair is very dry, add a second deep-conditioning day; if your scalp is oily, wash more often and co-wash less. The 7-day plan works because it is consistent, and consistency is what winter curls need most. Save it, print it, stick it on the bathroom mirror, and follow it until it becomes a habit — your curls will thank you for it.

Frequently Asked Questions About Winter Hair Care Routines for Curly Hair
Why does my curly hair frizz more in winter? Winter frizz happens because cold air outside and heated air inside are both very dry, and curly hair is naturally drier than straight hair. The dry air lifts the cuticle and lets moisture in and out unevenly, which creates frizz. The fix is moisture: a leave-in, a cream, a gel, and a silk pillowcase at night.
Should I use leave-in, cream or gel — or all three? All three, in that order: leave-in first for moisture, cream second for definition, and gel third to seal it all in and create a cast that fights frizz. Each product does a different job, and together they are the winter curl routine that works.
How do I fix hat hair on curly hair? Wear a silk scarf under your hat, and when you take the hat off, shake the roots gently, mist the hair with water, and scrunch the curls back into shape. A little dry shampoo at the roots will lift any flatness, and a quick blast of the diffuser will restore the definition.
How often should I wash curly hair in winter? Once or twice a week is enough for most curly hair in winter, with a refresh in between. Washing more often strips the natural oils and makes the hair drier and frizzier, so wash less, condition more, and refresh rather than re-washing.
If you loved these curly hair routines, you will also love these winter hair care guides: Winter Hair Care Routine for Frizzy Hair and Winter Hair Care Routine for Dry Damaged Hair.
Save the 7-day plan from this guide, and share your own winter curl trick in the comments — what is the one routine that keeps your curls frizz-free? Your tip might be the one that helps another curly-haired reader win winter too.
Save this pin: Save on Pinterest
Want a caption for your own pin? Try the free Pinterest Caption & Pin Generator on Nova Fashion.
Follow Nova Fashion on Pinterest for more winter hair ideas, and share this guide with a friend whose curls are fighting the cold.
Pingback: 21 Winter Haircut Ideas for Women With Curly Hair Nova Fashion