
There is a particular kind of frustration that belongs only to wavy hair in winter. You wash it, condition it, scrunch in your favourite cream, and it looks wonderful for about an hour. Then you step outside into cold air, pull on a wool hat, walk into a heated office — and by lunchtime your waves have either gone flat, gone frizzy, or quietly disappeared altogether. If that sounds familiar, this curly hair routine for wavy hair in winter was written for you.
Here is the thing most wavy-haired people are never told: wavy hair is not curly hair that failed. It is its own hair type, with its own needs — and winter changes those needs more than any other season. Cold air pulls moisture out of the hair shaft. Indoor heating dries it out even further. Hats crush the wave pattern flat against your head. And the products that worked beautifully in July can leave your hair stringy, heavy and dull by January.
This guide walks you through a nine-step winter routine built specifically for waves — types 2A, 2B and 2C — that gives you soft, defined waves without the frizz, and without spending an hour in front of the mirror every morning. It is honest about the parts that take patience, and it skips the parts that never worked for waves in the first place.
Wavy Hair Is Not Failed Curly Hair — It Has Its Own Winter Rules
For years, wavy hair was treated as a halfway house: either you straightened it properly or you followed a curly routine and hoped for the best. Neither approach works, because waves sit in the middle. The hair bends rather than coils, which means it needs less weight than curly hair but more structure than straight hair. A routine designed for tight curls will smother your waves under too much cream and gel. A routine designed for straight hair will leave them undefined and frizzy.
Winter makes the gap even wider. Cold weather lifts the hair cuticle, which lets moisture escape and lets frizz in. Your scalp produces less oil in cold weather, so the lengths get drier. And because wavy hair is finer and lighter than curly hair on average, it shows every bit of that dryness: the ends go wispy, the crown goes fluffy, and the wave pattern collapses under a hat in minutes. The answer is not more product. It is the right product, in the right order, with the right amount of water — which is exactly what the nine steps below are built around.

Know Your Wave Type First: 2A, 2B or 2C?
Before you buy a single product, it helps to know which kind of waves you actually have, because the three wave types want different things. Type 2A hair forms loose, stretched-out S-waves that start somewhere around ear level and are easily weighed down. If your hair looks almost straight when it dries naturally but holds a bend after braiding, you are probably a 2A. Type 2B has more defined S-waves from the roots, with a bit of frizz at the crown. Type 2C has strong, well-defined waves that border on curls, and it frizzes the most of the three in winter.
Why does this matter? Because the most common mistake in any curly hair routine for wavy hair in winter is using products made for the wrong wave type. A 2A who uses a heavy curl cream made for 3B curls will end up with flat, greasy-looking hair. A 2C who uses a feather-light mousse made for fine straight hair will end up with a halo of frizz. The rule of thumb is simple: the looser your wave, the lighter your products should be, and the stronger your wave, the more hold you can handle.
If you are not sure where you fall, try this quick test. Wash your hair, skip all styling products, and let it air-dry completely without touching it. What you see in the mirror is your honest wave pattern. Loose bends that barely hold? That is 2A. Clear S-shapes with some root lift? That is 2B. Strong waves that almost form ringlets at the ends? That is 2C. Write it down somewhere, because every step below works best when you adjust the amounts to your type.

Step 1: Wash Less, Wash Smarter
The first step of the winter curly routine for wavy hair is counterintuitive: wash it less often. In summer you might have needed a wash every other day, but in winter your scalp produces less oil, and every wash strips moisture your hair is already struggling to keep. For most wavy hair, two to three washes a week is the sweet spot — and type 2A hair, which gets oily faster, can usually stretch to three washes if the scalp is cleaned properly.
When you do wash, focus the shampoo on your scalp, not your lengths. Massage it in with your fingertips for a full minute — that is where the oil and product build-up actually live. Let the suds run down the lengths as you rinse; that is plenty of cleaning for the ends, which are the driest and most fragile part of your hair in winter. Choose a gentle, sulfate-free shampoo, and skip the clarifying shampoo unless you have visible build-up. In cold weather, a harsh clarifier can undo a week of good conditioning in a single wash.

Step 2: Condition Like You Mean It
If shampoo is about the scalp, conditioner is about everything else — and in winter, this step deserves more time than you probably give it. After rinsing out your shampoo, apply conditioner from the mid-lengths to the ends, and leave it in for at least three minutes. Not thirty seconds while you reach for your razor. Three full minutes. In cold weather the cuticle is more open and rougher, and it needs that time to drink the conditioner in.
For wavy hair, the right conditioner is rich but not heavy. Look for formulas with shea butter, glycerin or ceramides, and avoid anything that leaves a slippery, coated feeling — that usually means silicones that will build up and weigh your waves down by the second day. A good trick for the cold months is “squish to condish”: with your head tilted forward, cup water into your hair and scrunch it upwards while the conditioner is still in. You will hear a soft squelching sound. That sound means water and conditioner are being pushed into the hair shaft together, and it makes a visible difference to how defined your waves dry.
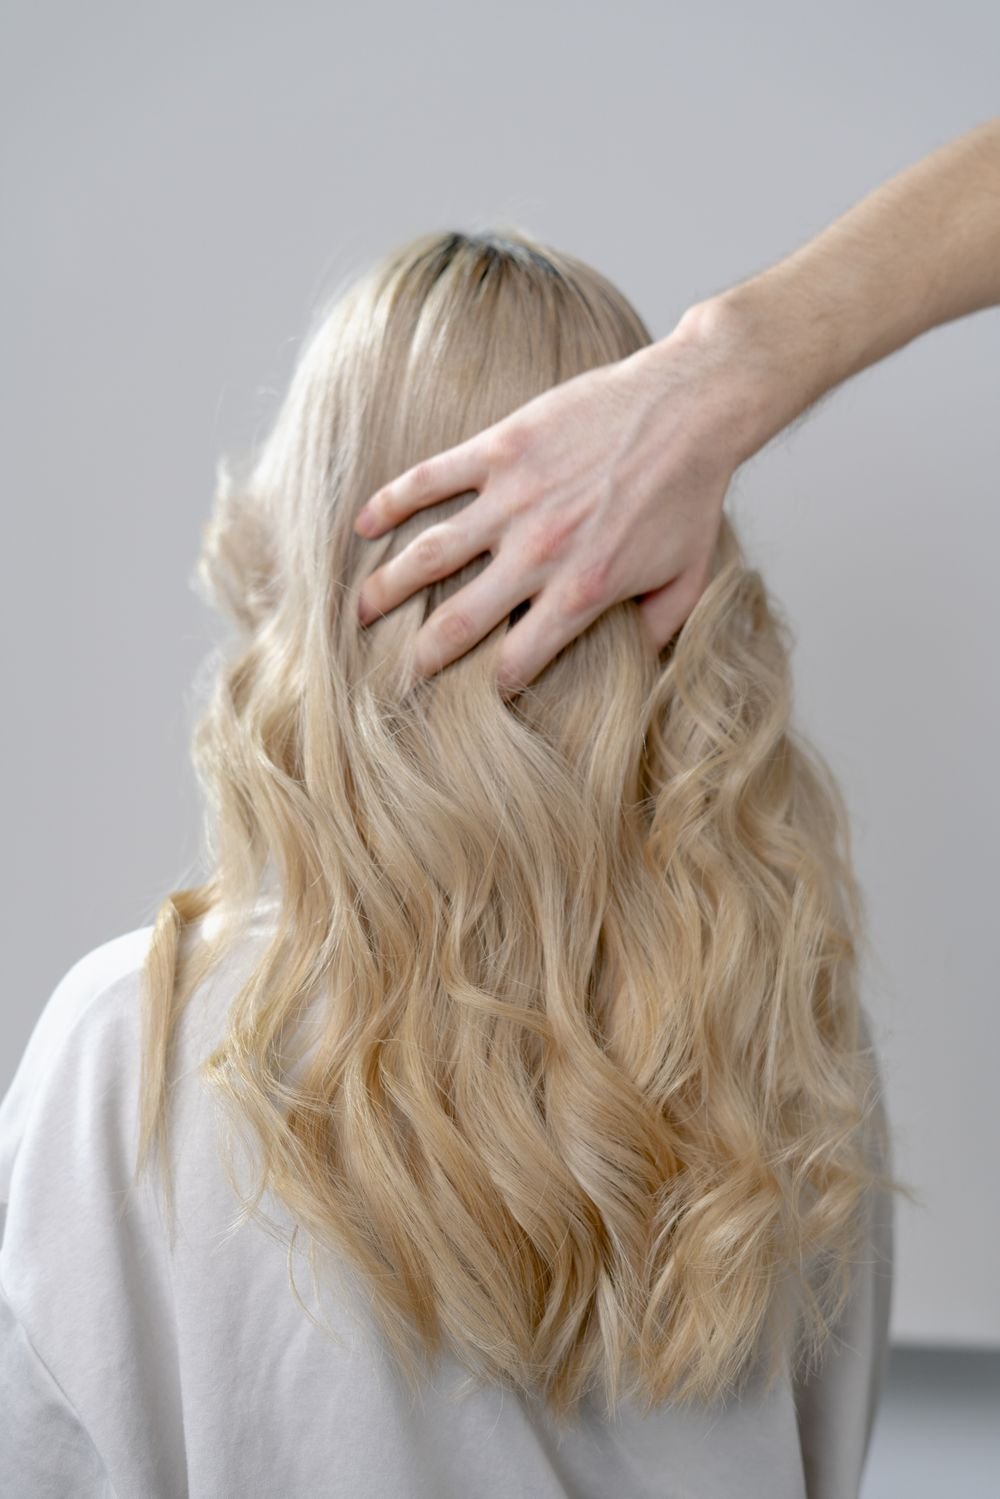
Step 3: Leave Some Conditioner In — Yes, Really
This is the step that changes the most for wavy hair in winter. In summer, leaving conditioner in your hair might have felt heavy and unnecessary. In winter, it is the cheapest insurance your waves have. After rinsing out most of your conditioner, leave a small amount in the ends — or smooth a pea-sized amount of a dedicated leave-in conditioner through the mid-lengths and ends while your hair is still dripping wet.
The amount matters more than the product. Too much leave-in and your waves will dry flat and stringy; too little and you lose the whole point. Start with less than you think you need — a blueberry-sized blob for shoulder-length hair, a little more if your hair is thick or very long. Smooth it over the surface of your hair rather than raking it through, which breaks up the wave clumps before they have even formed. If your hair is type 2A, a lightweight leave-in spray is usually enough. If you are a 2C, a cream leave-in will give your waves the weight they need to hold their shape against winter static.

Step 4: Apply Products to Soaking-Wet Hair
Here is the secret that separates good wavy hair days from great ones: water is the most important styling product you own. Wavy hair forms its pattern while it is wet, and the pattern locks in as it dries. If you towel-dry first and then try to scrunch products in, you are working against hair that has already started to set — usually into frizz. Apply your styling products while your hair is still soaking wet, straight out of the shower.
The order is: leave-in first, then a curl cream if you use one, then a gel or mousse for hold. For most wavy hair in winter, that last step matters more than usual. A light-hold gel creates a soft cast around each wave clump as it dries, protecting it from cold air and friction. It will feel crunchy when it is fully dry — that is normal, and step seven explains what to do about it. If gels have always felt too heavy for you, try a mousse instead: it gives hold without the weight, and it works particularly well for type 2A hair that collapses under creams.
How you apply the product counts as much as what you apply. Instead of raking your fingers through your hair, which splits the waves apart, use “praying hands”: smooth the product between your palms, then glide your hands down the lengths of your hair in sections. Then scrunch upwards, gently, to encourage the wave pattern back. You will see the waves clumping together as you scrunch — those clumps are exactly what you want.

Step 5: Scrunch, Then Plop — The 10-Minute Rule
Once your products are in, resist the urge to touch your hair. The next ten minutes are the most important part of the routine. First, scrunch out the excess water with your hands or a microfibre towel — never a rough bath towel, which roughs up the cuticle and creates frizz. Then, if you have time, try plopping: lay a cotton T-shirt or microfibre towel flat, flip your wet hair onto the centre of it, and wrap the shirt around your head like a turban.
Plopping does two things at once. It soaks up the extra water without disturbing the wave pattern, and it holds your waves in a scrunched position while the gel cast starts to form. Ten to twenty minutes is enough; leaving it on for an hour can flatten the roots and make your hair dry in odd shapes. If plopping feels like too much effort for a weekday morning, skip it — but keep the ten-minute rule. Whatever you do, do not brush, comb or run your fingers through your hair while it is damp. Every touch breaks a wave clump apart and invites frizz in.

Step 6: Diffuse on Low, or Air-Dry Without Touching
Now you have a choice: diffuse or air-dry. In winter, diffusing usually wins, because hair that stays wet for hours in cold weather dries into a frizzy, undefined shape — and nobody wants to walk out into freezing air with wet hair. But the settings matter. Use the lowest heat and the lowest speed your dryer has, with a diffuser attachment. High heat blasts the wave clumps apart; low, gentle air lets them set.
Try “hover diffusing” first: hold the diffuser a few inches away from your hair and move it slowly around your head without touching the hair at all, until the hair is about seventy percent dry. Then you can gently cup sections of hair into the diffuser bowl and hold them for a few seconds each. Stop at about ninety percent dry and let the last bit finish on its own. Hair that is diffused bone-dry tends to look puffy in winter; hair that finishes drying naturally keeps its shape better.
If you prefer to air-dry, the only rule is to leave it completely alone. No touching, no tucking behind your ears, no checking the back with your hands. Put your hair in a loose scrunchie or clip at the roots for a little lift while it dries, and walk away. It is boring, and it works better than anything else.

Step 7: Break the Gel Cast the Right Way
When your hair is completely dry, it will probably feel crunchy. That crunch is the gel cast, and it is a good thing — it means the gel protected your waves while they dried. Now you get to break it. Put a drop or two of a light hair oil on your palms, rub them together, and gently scrunch your hair upwards, section by section. The crunch will disappear and the waves will soften into defined, touchable bends.
Two mistakes to avoid here. First, do not break the cast before your hair is one hundred percent dry. If even a small section is still damp inside, breaking the cast there will turn that section frizzy — and it will stay frizzy until your next wash. Second, do not use too much oil. A couple of drops is plenty, and if your hair is fine or type 2A, you can skip the oil entirely and break the cast with dry hands. The goal is soft waves with a little movement, not a slicked-down finish.

Step 8: Sleep on It — Protecting Waves Overnight
A good wash day is only half the story. What happens overnight decides whether day-two hair is beautiful or a birds’ nest. The problem is friction: ordinary cotton pillowcases grab at the hair cuticle all night, crushing waves and creating frizz. The fix is simple, and it costs very little. Switch to a satin or silk pillowcase, or wrap your hair in a silk scarf before bed. Your waves will slide across the fabric instead of catching on it.
For longer waves, try the “pineapple”: gather your hair into a very loose, high ponytail right on top of your head with a soft scrunchie — not a tight elastic, which leaves dents. The waves fall forward instead of being squashed flat, and in the morning most of the pattern is still there. If your hair is shorter, a satin bonnet does the same job. It is not glamorous, but neither is re-washing your hair every morning because the night undid it.
Step 9: Refresh on Day Two (and Three) Without Rewashing
This is the step that makes the whole winter curly routine for wavy hair worth learning. Instead of washing your hair again, you refresh it. Mist your hair lightly with water — not soaking wet, just damp enough to reactivate the products already in it — then scrunch in a pea-sized amount of leave-in conditioner or a little curl cream, focusing on the sections that have gone flat or frizzy overnight. Diffuse for two or three minutes on low, or just let it air-dry, and your waves come back.
The most common refresh mistake is using too much water and too much product, which turns day-two hair limp and sticky. Go lighter than you think. A quick mist, a tiny amount of cream, and your hands off afterwards — that is the whole refresh. Done well, a good wash day can stretch to three or even four days in winter, which is better for your hair and frees up your mornings all week.
The Winter Swaps That Matter Most
You do not need a whole new bathroom shelf for winter. You need four swaps. First, a heavier cream: trade your lightweight summer leave-in for something richer, especially if your hair is 2B or 2C. Second, a gel with real hold: that soft cast is what protects your waves from cold air and hat friction. Third, a richer conditioner, as covered in step two. And fourth, a silk or satin pillowcase if you do not already own one.
One swap that surprises people is protein. Many wavy-haired people discover in winter that their hair has gone limp not from dryness but from too much moisture and not enough structure — the so-called moisture overload. If your waves feel soft but strangely flat and will not hold their shape however much gel you use, a light protein treatment once every few weeks can restore the bounce. It is not for everyone, and it is not a weekly habit, but for hair that feels mushy when wet and stretchy when pulled, protein is usually the missing piece.

Hat Hair: How to Wear a Beanie Without Flattening Your Waves
Winter and hats are a fact of life, and hats are the enemy of volume. But a few tricks keep the damage to a minimum. First, choose your hat well: a silk-lined beanie or a hat with a smooth lining creates far less friction than rough wool. Second, change how you put it on — place it at the back of your head and pull it forward, rather than pulling it down over your crown, which flattens the roots.
Third, have a rescue plan for when you take the hat off. Flip your head upside down, shake out the roots with your fingertips, and scrunch the lengths once. A quick mist of water on just the roots, followed by thirty seconds of upside-down diffusing, brings most of the volume back. If you know you will be wearing a hat all day, style your hair with a little extra root lift in the morning — clip the roots up while you diffuse — so there is something left to recover later.
Frizz in Cold Air: What Actually Causes It (and What Fixes It)
Winter frizz has two causes, and knowing which one you are dealing with saves a lot of money on products that were never going to help. The first is dryness frizz: the cuticle is lifted, moisture escapes, and the hair looks dull and flyaway. This is fixed the slow way — conditioning, leave-in, and the gel cast from the routine above. The second is static frizz: those hairs that stand on end when you take off a wool scarf. Static is fixed the quick way — a drop of oil smoothed over the surface, a silk lining in your hat and scarf, and a humidifier in the bedroom if your indoor air is very dry.
One more truth about frizz: some of it is just wavy hair being wavy hair. A little halo at the crown on a cold, dry day is normal, and chasing perfectly smooth hair usually means weighing your waves down with products that flatten them. The goal of this routine is defined waves with soft, natural texture — not pin-straight perfection.
The Wash-Day Order, Start to Finish — Your Cheat Sheet
Here is the whole curly hair routine for wavy hair in winter on one card, so you can stop scrolling and start washing. Pin it to your fridge or save it on your phone.
- Wash two to three times a week; shampoo the scalp only.
- Condition mid-lengths to ends for three full minutes; squish to condish.
- Leave a little conditioner in, or add a pea-sized amount of leave-in.
- Apply cream, then gel or mousse, to soaking-wet hair with praying hands.
- Scrunch out the water, then plop for ten to twenty minutes.
- Diffuse on low heat and low speed, or air-dry without touching.
- When fully dry, break the gel cast with oiled hands.
- Sleep on silk, or in a loose pineapple.
- Refresh on day two and three with a water mist and a little cream.
What to Skip This Winter (and What to Stop Doing Altogether)
Some habits are not just unhelpful in winter; they actively undo the routine. Brushing dry wavy hair is the first one to go. A brush turns defined waves into a triangle of fluff — detangle only when your hair is wet and full of conditioner, with your fingers or a wide-tooth comb. Heavy oils are the second: a little oil to break the cast is wonderful, but oiling your scalp or soaking your lengths in oil before washing leaves most wavy hair greasy and flat.
Third, stop washing your hair in very hot water. It feels wonderful on a cold morning, but hot water strips the natural oils your scalp is already making less of, and it roughs up the cuticle. Lukewarm is enough, with a cool rinse at the end if you can stand it. And finally, stop straightening your hair “just for one day” with a flat iron and expecting your waves to bounce back the next morning. Heat damage is cumulative. If you love your waves, the flat iron is the one tool this routine asks you to retire.
Wavy Hair and the Shag Bob: A Cut That Makes the Routine Easier
Here is something the routine alone cannot fix: a cut that fights your wave pattern. If your waves never seem to hold their shape no matter what you do, the problem may be the haircut, not the products. Long, one-length hair pulls waves out under its own weight, which is why so many wavy-haired people find their pattern disappears past shoulder length. Layers change that completely. A well-cut shag adds movement and removes weight at just the right points, so the waves spring up instead of being dragged down.
If you are considering a change, read our guide to the shag bob with curtain bangs for wavy hair — twelve air-dry-friendly cuts that work with the routine in this article rather than against it. Even if you keep your length, asking your stylist for long internal layers and face-framing pieces will make every step above work noticeably better.
How Long Until It Works? A Realistic Four-Week Timeline
Let us be honest, because no one else will be: this routine does not transform your hair in a single wash. Week one feels awkward. You will use too much product, or too little, and your hair will probably look slightly worse while you figure out the amounts. That is normal. By week two you will know roughly how much leave-in and gel your hair wants, and the wash days will start to look consistently good. By week three the refresh step starts working properly, and you will notice you are washing less often. By week four, the routine is a habit, and the difference is visible: softer waves, less frizz, and hair that survives a hat and a cold commute without falling apart.
The one thing that speeds this up is consistency. Changing products every wash makes it impossible to learn what your hair actually needs. Pick one set of products, follow the nine steps for a full month, and only then decide what to change. Your waves have spent years being treated like failed curls; give them a month of being treated like waves.
Your Winter Wavy-Hair Shopping List (Budget-Friendly)
You do not need expensive salon products to make this routine work. A gentle sulfate-free shampoo, a rich conditioner, a leave-in cream or spray, a light-hold gel or mousse, a microfibre towel or old cotton T-shirt, a silk or satin pillowcase, and a light hair oil — that is the whole list. Buy the shampoo and conditioner first, because everything else sits on top of them. The towel and pillowcase cost very little and make a bigger difference than any single styling product, so do not skip those. And if you buy one thing this month, make it the gel: in winter, a good gel cast is the difference between waves that last until dinner and waves that give up by ten in the morning.
Save This for Later: Your Wavy Hair Winter Routine Pinterest Pin
Save this routine for your next wash day — and save your favourite step, too. This pin has the whole nine-step routine on one card, so you can find it again when you need it.


Want a caption to go with your pin? Try our free Pinterest caption generator — it writes the pin title and description for you in seconds.