
The first braid most of us ever learned was a simple three-strand plait, probably done by a mum, a sister, or a friend on the school bus. It was the braid every woman learned first. These braided hairstyles for women are the twenty she never tried — from a two-minute everyday plait to a wedding-worthy crown, for straight, wavy, curly, and coily hair.
Braids protect your hair, they survive wind and hats, and they look finished with almost no effort. That is why Pinterest saves them all year round. A braid keeps your ends tucked away, it holds through a long day at work or a workout, and it still looks pretty when you take it out the next morning, because the waves it leaves behind are a hairstyle all on their own.
Every look below has plain steps anyone can follow, a realistic time, the tools you need, the hair type and length it suits, and one fix for the mistake most people make with it. Try one tomorrow morning.
Pick your braid in 30 seconds
By hair type. Straight hair: French, Dutch, fishtail, and rope braids, because clean sections show the pattern best. Wavy hair: waterfall, half-up crown, and boho braids. Curly hair: box braids, French curl braids, and a braided headband. Coily hair: knotless box braids, double Dutch, and a braided bun, because protective styles keep moisture in and ends safe.
By occasion. Work: a classic French braid or a braided low bun. School: double Dutch boxer braids or a side fishtail. Party: a bubble braid, a braided top knot, or ribbon braids. Wedding: a milkmaid crown, a braided chignon, or the wedding braided updo at number 20. Gym: a braided ponytail or a rope braid. Winter days under a beanie: a low French braid or a braided bun.
1. Classic French Braid
The one to learn first, and the one you will still reach for on busy mornings. A French braid starts at the crown and picks up hair as it goes, so it lies flat and stays put.

- Brush your hair back and take a small section at the crown.
- Split it into three strands and cross them over each other once.
- Before each new cross, pick up a little more hair from that side.
- Keep going to the ends, tie it off, then gently tug the edges to soften it.
Time: 5 minutes. Tools: hair tie, brush, texture spray. Best for: straight and wavy hair, shoulder length or longer. Fix: if it feels too tight at the scalp, loosen the first few crosses before you tie it.
2. Dutch Braid (Inside-Out)
A Dutch braid is a French braid turned inside out. Cross the strands under the middle, not over it, so the braid sits on top of your hair like a raised rope.

- Take a section at the front hairline and split it into three.
- Cross the right strand under the middle, then the left under the middle.
- Add a small section of hair to each side strand before you cross it under.
- Finish the plait down the back, tie it off, and pancake the edges for fullness.
Time: 7 minutes. Tools: hair tie, comb, pins. Best for: straight, wavy, and curly hair, medium to long. Fix: if it keeps flipping into a French braid, say “under, under” for the first few crosses.
3. Fishtail Braid
A fishtail looks fancy, but it only uses two sections instead of three. The fine, herringbone pattern looks lovely a little messy, so it suits second-day hair and wavy texture well.

- Gather your hair to one side or down your back and split it into two halves.
- Take a thin piece from the outside of the right half and cross it to the left.
- Take a thin piece from the outside of the left half and cross it to the right.
- Repeat all the way down, keeping the pieces thin, then tie and gently loosen.
Time: 8 minutes. Tools: hair tie, a little hair oil. Best for: straight and wavy hair, long hair shows the pattern best. Fix: if it keeps slipping apart, use smaller pieces and a drop of oil on your hands.
4. Side Fishtail Braid
Move a fishtail over one shoulder and it changes from a neat school braid into something soft and romantic, for a date, a party, or a photo.
- Sweep all your hair over one shoulder and split it into two halves.
- Fishtail as in number 3, taking thin pieces from the outside of each half.
- Stop a few inches from the ends and tie it with a small, clear elastic.
- Pull the braid gently wider at the top, and let a few face-framing pieces fall free.
Time: 8 minutes. Tools: small elastic, pins, texture spray. Best for: wavy and straight hair, medium to long. Fix: if it slides off your shoulder, pin it at the nape with one bobby pin hidden under the hair.
5. Double Dutch Boxer Braids
Boxer braids are two Dutch braids, one on each side, and they are the hardest-working style on this list. They stay put through a workout and a windy walk, and they leave the prettiest waves when you take them out. For more ideas, see these double Dutch braid hairstyles for women.

- Part your hair straight down the middle, from forehead to nape, and clip one side away.
- Dutch braid one side, crossing under and adding hair as you go, until you reach the nape.
- Finish that side as a normal plait and tie it off, then repeat on the other side.
- Tug both braids gently so they match, and smooth flyaways with a little oil.
Time: 12 minutes. Tools: tail comb, two hair ties, pins. Best for: all hair types, including curly and coily hair, medium to long. Fix: if the centre part goes wobbly, do it with a tail comb in small sections and check it in a hand mirror.
6. Bubble Braid
No real braiding required, I promise. A bubble braid is just a ponytail with elastics spaced down its length, pulled out into soft bubbles — perfect if you have always said “I cannot braid.”
- Pull your hair into a high or low ponytail and tie it securely.
- Add another elastic two or three inches down, then another, spacing them evenly.
- Gently pull each section outwards with your fingertips until it puffs into a bubble.
- Smooth the top and hide the elastics with a small strand of hair if you like.
Time: 3 minutes. Tools: four or five small elastics, brush. Best for: all hair types, especially fine or thin hair, medium to long. Fix: if the bubbles look flat, pull from the sides of each section, not from the top.
7. Milkmaid / Crown Braid
A milkmaid braid wraps right around your head like a crown, and it is the prettiest way to get all your hair up and off your neck on a hot day.

- Part your hair down the middle and make two low braids, one on each side.
- Cross the right braid over the top of your head and pin it behind your left ear.
- Cross the left braid over the top the other way and pin it behind your right ear.
- Tuck the ends under each other, add pins until it feels secure, and loosen the front.
Time: 10 minutes. Tools: two hair ties, six to eight bobby pins. Best for: wavy and curly hair, long hair, and hair with a bit of texture. Fix: if it keeps sliding back, cross the pins in an X and push them into the braid itself.
8. Braided Low Bun
A braided low bun is the grown-up version of a plain bun, and my favourite work hairstyle. Neat enough for a meeting, soft enough for dinner afterwards.
- Make a low ponytail at the nape and braid it loosely to the ends.
- Twist the braid around itself to form a bun, tucking the end underneath.
- Pin the bun in place, starting with the heaviest part at the bottom.
- Pull out two soft pieces at the front and smooth the top with a brush.
Time: 6 minutes. Tools: hair tie, four or five pins, hair oil. Best for: straight and wavy hair, medium to long. Fix: if the bun sags by lunchtime, pin it while your head is tilted slightly forward.
9. Braided Ponytail
A braided ponytail is a normal ponytail with a much better ending. It swings less, it tangles less, and it looks intentional instead of rushed. If your hair is long, try these easy hairstyles for long hair too.

- Brush your hair into a high or mid ponytail and tie it firmly.
- Split the ponytail into three and braid it to the ends.
- Tie it off, then gently tug the braid wider for a fuller look.
- Wrap a small strand around the elastic and pin it underneath.
Time: 4 minutes. Tools: hair tie, small elastic, brush. Best for: all hair types, long hair especially. Fix: if the ponytail droops, tie it in two sections — a small ponytail underneath holds the top one up.
10. Braided Top Knot
A braided top knot is a messy bun that actually stays put. You braid first, then twist, so the knot has grip and texture instead of sliding apart.

- Pull your hair into a high ponytail and braid it loosely.
- Twist the braid around its base to make a knot.
- Tuck the end under and pin it in three or four places.
- Loosen the front and pull out a few wisps to soften it.
Time: 5 minutes. Tools: hair tie, four pins. Best for: curly, wavy, and coily hair, medium to long. Fix: if the knot feels heavy and pulls, make the braid looser before you twist it.
11. Half-Up Braided Crown
Half-up is the best of both worlds: your hair is out of your face, but you still get to wear most of it down. Two small braids meet at the back like a crown.

- Take a section of hair above each ear and braid each one back.
- Cross the two braids at the back of your head and tie them together.
- Pin the join flat, hiding the elastic under a small twist of hair.
- Loosen the braids a little and let the rest of your hair fall naturally.
Time: 6 minutes. Tools: small elastic, two pins, texture spray. Best for: wavy, curly, and straight hair, medium to long. Fix: if the crown slips down, braid the sections a little higher, above the ears.
12. Rope Braid
A rope braid only has two strands, twisted in the same direction and then twisted around each other, so it looks like a rope and holds incredibly well.
- Gather your hair into a ponytail, or split it into two sections.
- Twist both sections in the same direction, clockwise, keeping them tight.
- Twist the two twisted sections around each other in the opposite direction.
- Tie it off firmly — if you let go before tying, it will unwind.
Time: 3 minutes. Tools: hair tie, a little oil. Best for: straight and wavy hair, medium to long. Fix: if it unwinds, you twisted the two sections in opposite directions — twist each strand the same way first.
13. Waterfall Braid
A waterfall braid is pure romance: a braid that runs across the back of your head, dropping strands down as it goes, like water falling through it.
- Take a section near one temple and start a French braid across the back of your head.
- Each time you cross the top strand, drop it and pick up a new strand from just below it.
- Keep the dropped strands hanging loose — they are the waterfall.
- Finish behind the other ear, pin the end flat, and curl the loose ends if you like.
Time: 10 minutes. Tools: pins, small elastic, texture spray. Best for: wavy and curly hair, long hair. Fix: if it falls out, you are dropping the wrong strand — drop the top strand every time.
14. Braided Headband With Loose Curls
Think of this as a headband made of your own hair. A small braid runs along your hairline, holding the front back, while the rest falls in loose curls. Layers help this one — see these layered haircuts for women for how layers frame the face.

- Take a section behind one ear and braid it along your hairline to the other side.
- Pin the end behind the opposite ear, tucking it under the loose hair.
- Curl the loose hair in large sections, or leave your natural curls as they are.
- Loosen the braid a little and pull out two soft pieces at the front.
Time: 10 minutes, plus curling time. Tools: two pins, curling iron, a little oil. Best for: curly and wavy hair, medium to long. Fix: if it slides forward, pin it at both ends, not just one.
15. Box Braids
Box braids are a classic protective style: neat, square-parted braids that can last for weeks, protect your ends, and give you a break from daily styling.

- Part clean, square sections with a tail comb, working from the nape upwards.
- Moisturise each section well before you braid it.
- Braid each section to the ends, keeping the tension even and comfortable.
- Seal the ends with warm water if your stylist advises it, and oil your scalp lightly.
Time: 2 to 4 hours with a stylist. Tools: tail comb, clips, moisturiser, oil, extensions. Best for: curly and coily hair, all lengths with added hair. Fix: if your scalp hurts, the braids are too tight at the root — tell your stylist straight away.
16. Knotless Box Braids
Knotless braids look like box braids, but they start with your own hair and feed the extension hair in gradually, so there is no tight knot at the root. The result is lighter and flatter at the scalp.

- Part clean sections and moisturise each one before you start.
- Begin the braid with your own hair only, for the first few crosses.
- Feed in small pieces of extension hair gradually as you braid down.
- Finish the ends, oil your scalp, and tie the braids up loosely at night.
Time: 3 to 5 hours with a stylist. Tools: tail comb, clips, moisturiser, oil, extensions. Best for: curly and coily hair, and anyone with a sensitive scalp. Fix: if it still pulls, the feed-in started too early — start with three crosses of your own hair first.
17. Boho Braids With Curls
Boho braids are supposed to look a little undone. A few loose braids mixed through curly, wavy hair, with soft pieces falling free around the face.

- Leave your hair wavy or curly, and add a little texture spray.
- Make two or three thin braids at random, one near the front and one or two further back.
- Tie each braid with a tiny elastic and pull it apart gently for softness.
- Add a few small beads or a hair ring if you like, and leave the rest loose.
Time: 10 minutes. Tools: tiny elastics, texture spray, optional beads. Best for: wavy and curly hair, medium to long. Fix: if it looks messy instead of relaxed, keep the braids thin and the rest of your hair smooth.
18. French Curl Braids
French curl braids are box braids with soft, curly ends, so you get the neat, protective top and the bouncy curls at the bottom.

- Part clean sections and braid each one most of the way down.
- Leave the last few inches unbraided, or use curly extension hair for the ends.
- Curl the ends gently and separate them with oiled fingers.
- Moisturise the curls daily and tie the braids loosely at night.
Time: 3 to 4 hours with a stylist. Tools: tail comb, moisturiser, oil, curly extensions, satin scarf. Best for: curly and coily hair, medium to long. Fix: if the curls go frizzy, you are brushing them dry — use oiled fingers only, never a brush.
19. Braided Chignon
A chignon is a low, elegant knot at the nape, and adding a braid makes it look like you spent an hour in a salon. It goes with everything from a work dress to a wedding guest outfit.
- French braid from the crown down to the nape, keeping it loose and soft.
- Twist the remaining hair into a low knot at the nape.
- Pin the knot in place, tucking the ends underneath.
- Loosen the braid a little, smooth the sides, and add a pretty pin if you like.
Time: 10 minutes. Tools: hair tie, five or six pins, a little oil. Best for: straight and wavy hair, medium to long. Fix: if it looks lopsided, check it in two mirrors before you leave.
20. Wedding Braided Updo
This is the one for the big day — a braided updo that is soft, secure, and made to last from the first photo to the last dance. It holds a veil or a flower pin beautifully.

- Start with clean, dry hair and add texture spray for grip.
- Make a loose Dutch braid from the front hairline to the crown, then gather the rest low.
- Twist the remaining hair into a soft low bun and pin it securely.
- Pull out a few curls around the face, add pins or flowers, and finish with a light hold spray.
Time: 30 to 45 minutes, or longer with a stylist. Tools: texture spray, pins, hair tie, curling iron, light hold spray. Best for: all hair types, medium to long hair. Fix: if it feels too tight at the scalp, loosen it before the ceremony, not during it.
21. Ribbon Braids (Velvet or Satin Ribbon Woven In)
Ribbon braids are the prettiest finish on this list, and the easiest way to make a simple braid look special. Weave a velvet or satin ribbon in as a fourth strand, or tie it at the end in a bow.
- Choose a ribbon about twice as long as your braid, in velvet or satin.
- Tie the ribbon at the top of the section you are about to braid, or use it as one of the strands.
- Braid as normal, keeping the ribbon flat and visible on the outside.
- Tie the end with the ribbon itself, in a small bow, and trim the ends neatly.
Time: 7 minutes. Tools: velvet or satin ribbon, hair tie, scissors. Best for: straight and wavy hair, medium to long. Fix: if the ribbon twists and disappears inside, keep it on the outside strand and smooth it flat after every cross.
How to make a braid last into day two
Sleep on a silk or satin pillowcase, or tie your braid loosely at night with a satin scarf. In the morning, do not take the braid out and start again — loosen the edges, smooth the front with a little oil, and add a pin where it needs it. A French or Dutch braid often looks better on day two. If the ends have gone fluffy, re-braid just the last few inches.
Protective-style care: the gentle rules
Do not braid wet hair too tight. Wet hair stretches, and a tight braid on wet hair can snap strands and hurt your scalp as it dries. Moisturise before braiding, especially for box braids, knotless braids, and French curl braids — a little leave-in cream or oil on each section makes the braid smoother. Keep protective styles in for a few weeks, not for months, oil your scalp lightly, and give your hair a rest between styles. If it hurts, it is too tight.
Frequently Asked Questions About Braided Hairstyles for Women
How long do braided hairstyles last?
A simple French, Dutch, or fishtail braid lasts a day, and often looks good on day two. Box braids, knotless braids, and French curl braids can last three to six weeks with good care, a satin scarf at night, and light oiling of the scalp.
Can I braid my own hair if I am a complete beginner?
Yes — start with the classic French braid, the bubble braid, or a braided ponytail. Practise on slightly dirty, second-day hair first, because clean hair is slippery and much harder to hold.
Which braided hairstyle is best for thin or fine hair?
A bubble braid, a Dutch braid pulled gently apart, or a fishtail braid all add fullness to fine hair. Use texture spray, keep the braid loose, and tug the edges wider — that is called pancaking, and it makes a thin braid look twice as full.
Should I braid wet or dry hair?
Braid dry or slightly damp hair, never soaking wet hair pulled tight. Damp hair is easier to section, but let it dry most of the way first, and keep the tension comfortable, especially at the hairline.
Save this braid for later
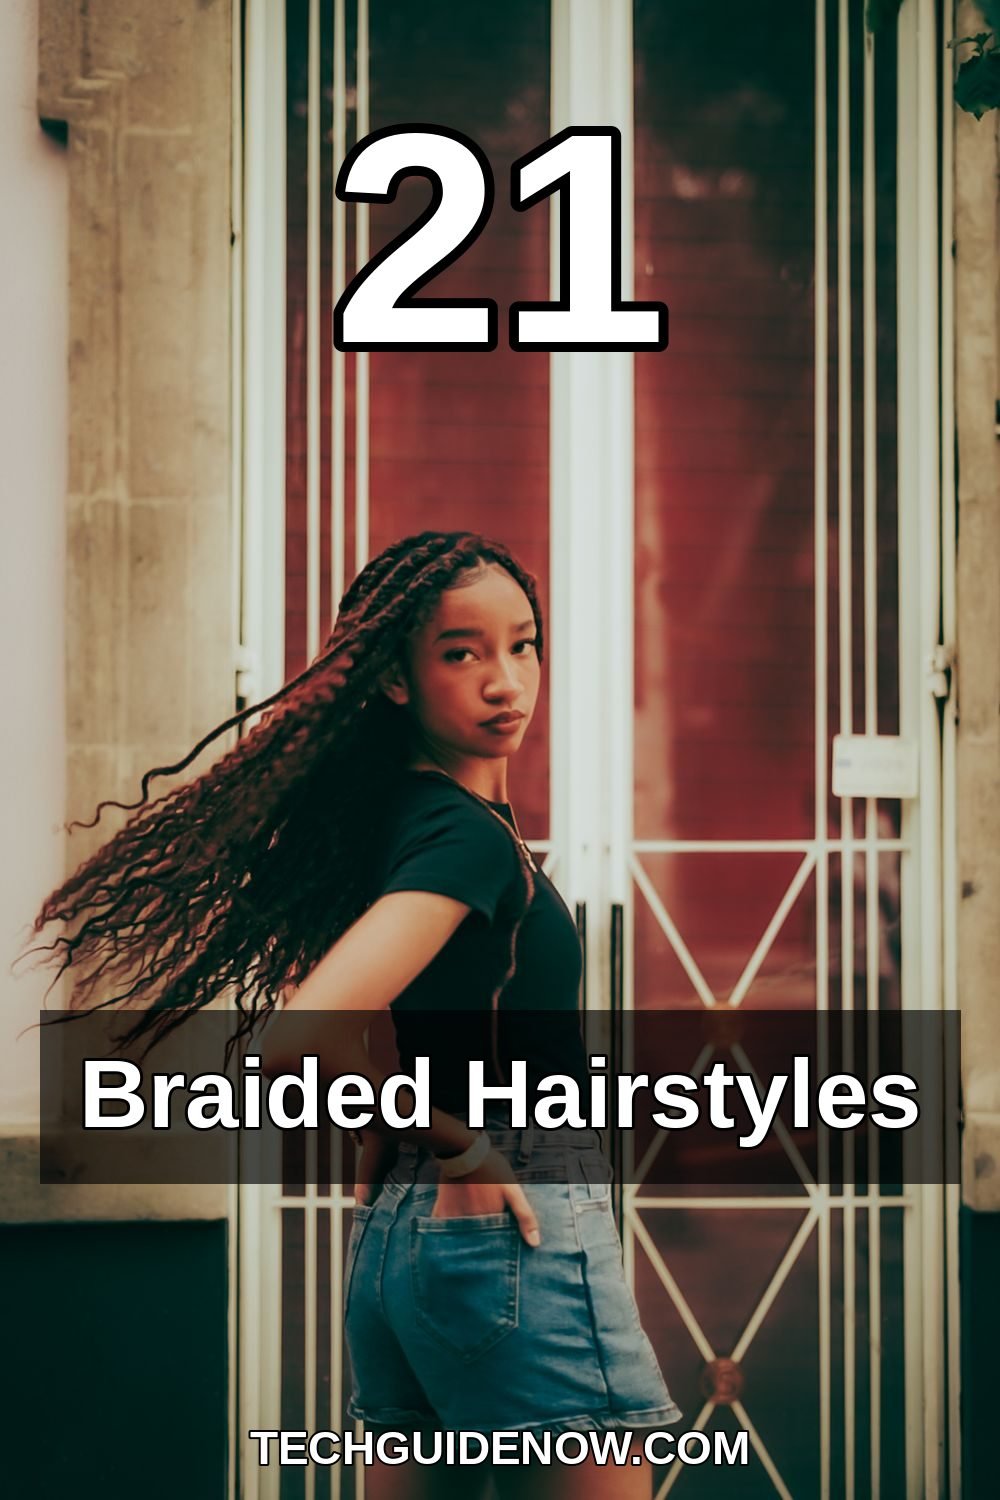

Want to write the perfect caption for your own pin? Try the site’s free Pinterest Caption & Pin Generator and create a caption that matches your favourite braid.
So, which one will you try first? Save your favourite braid on Pinterest, pick one for tomorrow morning, and give yourself ten unhurried minutes with a brush, a hair tie, and a little patience. Your first try does not have to be perfect — mine never was — and the second try is always easier. Braids are forgiving, they are kind to your hair, and they make an ordinary morning feel a little bit special. That is why this is my go-to list, and I hope it becomes yours too.