
You know the moment. You are standing in front of the mirror with beautiful, long hair — and absolutely no idea what to do with it. The clock is ticking, you have five minutes to get out the door, and your hair is doing that thing where it looks lovely down, but also a little bit like you just rolled out of bed. I have been there more mornings than I can count, and that is exactly why I put together these easy hairstyles for long hair women.
This is a promise, not a puzzle: 21 looks that take 2 to 10 minutes, most of them need no heat at all, and none of them need professional skills. Long hair is the most versatile length you can have, and easy does not mean boring. A ponytail can look polished or playful. A bun can look effortless or elegant. A braid can be soft, messy, sleek, or romantic — all with the same hair you woke up with.
Before we start, a few honest ground rules. Brush gently from the ends upward so you do not snap the length you worked so hard to grow. Keep a few clear elastics, bobby pins, and one good claw clip by the mirror, because the right tool is half the style. And if a look feels too tight, too flat, or too fussy, loosen it a little — most easy hairstyles for long hair women look better after you pull out a couple of soft pieces around your face.
Quick Pick: Choose Your Look by Hair Type and Occasion
By hair type: Straight hair — sleek high ponytail, pin-straight finish, slicked-back bun, twisted ponytail. Wavy hair — soft natural waves, half-up half-down, side part with soft waves, wet-look curls. Curly hair — messy bun, braided crown, baby braids, bubble ponytail. Thick hair — low bun, braided ponytail, claw clip twist, rope braid. Fine hair — bubble ponytail, half bun, twisted crown, oversized scrunchie low pony, because texture and volume tricks make fine hair look fuller.
By occasion: Work — sleek high ponytail, elegant low bun, slicked-back bun, low ponytail with a plait. School — half-up half-down, classic braid, bubble ponytail, baby braids. Party — braided crown, twisted crown, soft waves, wet-look curls. Gym — high ponytail, braided ponytail, rope braid, half bun, because these stay put and keep hair off your neck. Heatless options are flagged in every look below, and each one includes a tip for making it last all day: a light mist of hairspray, a second elastic, or a pin placed where the style actually moves.
If your hair is due for a trim or a shape that makes styling easier, see low-maintenance haircuts for women and layered haircuts for women — layers in particular make long hair feel lighter and help waves and braids fall more naturally.
1. Sleek High Ponytail
Time: 4 minutes. Tools: brush, elastic, a small section of hair to wrap, two bobby pins. Best for: straight and wavy hair, thick or fine; it is a lifesaver on second-day hair.
Brush all of your hair up toward the crown and smooth the top with the flat of the brush as you gather it. Hold the ponytail high, where the top of your head starts to curve back, and secure it firmly. Take a thin strand from underneath, wrap it around the elastic, and pin it underneath. Finally, pull the ponytail gently at the sides to add a little lift at the crown. This is the look I reach for when I want to look put-together in four minutes flat, and it works just as well for a work meeting as it does for a school run.
Make it last: use a second elastic a centimetre below the first if your hair is heavy, and smooth flyaways with a tiny drop of serum on your palms. Common mistake: a ponytail that slides down by lunchtime. Fix it by placing two bobby pins vertically under the elastic, pushing up into the base, so the ponytail sits higher all day.

2. Effortless Messy Bun
Time: 3 minutes. Tools: brush, elastic, a few bobby pins. Best for: wavy and curly hair, thick hair; fine hair works too with a little texture spray. Heatless.
Gather your hair into a high ponytail, but do not pull it all the way through the elastic on the last loop — leave a looped bun with the ends tucked under. Twist the loop slightly, wrap the loose ends around the base, and pin where it feels secure. Then pull out a few soft strands around your face and gently tug the bun wider with your fingers so it looks full, not flat. The whole point is that it should look a little undone, so do not smooth every strand into place.
Make it last: pin the bun at the bottom as well as the sides, and give it a light mist of hairspray. Common mistake: a bun that is too tight and gives you a headache. Fix it by loosening the first ponytail a little and pulling the bun apart with your fingers before you pin it — a messy bun should never hurt.

3. Half-Up Half-Down
Time: 5 minutes. Tools: brush, small elastic, two bobby pins. Best for: all hair types; especially lovely on wavy and curly hair. Heatless.
Part your hair in the middle or to one side, then take the top section from each temple and gather it at the back of your head. Secure it with a small elastic, then gently pull the section above the elastic wider so it has a soft lift. Let the rest of your hair fall loose over your shoulders, and pull out two face-framing pieces at the front. I love this one for days when I want my hair out of my face but still want the length to show — it is pretty, practical, and it suits almost everyone.
Make it last: use a small clear elastic and criss-cross two bobby pins underneath it so the half-up section does not slip. Common mistake: taking too much hair up, so the style looks like a half ponytail instead of a half-up. Fix it by taking only the hair above your ears; less is more here.

4. Classic Three-Strand Braid
Time: 5 minutes. Tools: brush, elastic. Best for: straight, wavy, and curly hair; thick hair makes the fullest braid. Heatless.
Brush your hair back and gather it low at the nape of your neck. Split it into three even sections, then cross the right section over the middle, and the left section over the new middle, repeating all the way down. Keep the tension even and the sections neat, secure the end with an elastic, and gently pull each loop of the braid a little wider so it looks fuller. This is the braid your grandmother probably taught you, and it still works — for school, for a walk, for a long day when you simply want your hair contained and pretty.
Make it last: braid a little tighter at the top and looser at the bottom, and tuck the elastic under the last loop. Common mistake: a braid that slips apart or looks lopsided. Fix it by keeping your hands low and close to the braid as you work, and by re-dividing the sections evenly every few crosses.

5. Elegant Low Bun
Time: 6 minutes. Tools: brush, elastic, four bobby pins. Best for: straight and wavy hair, thick or fine; it is the most work-appropriate bun on this list.
Part your hair in the middle and gather it low at the nape of your neck. Twist the ponytail gently, coil it around its base, and pin it in four places — top, bottom, left, and right. Smooth the top with the brush and pull out one very small piece on each side of your face if you want it softer. The result looks calm, polished, and expensive, even though it took six minutes in front of a bathroom mirror.
Make it last: pin through the bun into the hair underneath, not just into the surface, and finish with hairspray. Common mistake: a bun that looks lumpy from the side. Fix it by coiling the twist flat, like a snail shell, instead of bunching it into a ball.

6. Soft Natural Waves (Heatless Overnight)
Time: 2 minutes in the morning, after overnight braiding. Tools: brush, two elastics. Best for: wavy and straight hair; curly hair will already have its own wave, so use this to soften it. Heatless.
The night before, brush damp hair and split it into two loose braids, one on each side. Sleep on them — a silk or satin pillowcase helps — and in the morning, undo the braids, shake your hair out gently, and run your fingers through it instead of a brush. The waves will be soft and natural, not tight or frizzy, and they will hold much better than waves made with a hot tool on clean hair.
Make it last: a light scrunch of mousse before braiding, and do not brush the waves out once they are in. Common mistake: waves that fall flat by midday. Fix it by braiding the hair while it is still slightly damp, not soaking wet and not completely dry, so the wave has something to set into.

7. Twisted Ponytail
Time: 4 minutes. Tools: brush, elastic, one bobby pin. Best for: straight and wavy hair, fine to thick. Heatless.
Make a low ponytail and secure it loosely. Split the hair just above the elastic into two, then flip the ponytail up and through that gap — this is the classic topsy-tail twist. Pull the twist tight, smooth the top, and tug the sides gently for volume. It takes the same time as an ordinary ponytail but looks like you tried much harder, which is exactly the kind of trick I love on a busy morning.
Make it last: tighten the twist by pulling the ponytail downward, and pin the twist at the top if it loosens. Common mistake: the twist unravelling by lunchtime. Fix it by making the first ponytail a little tighter than you think you need, and by flipping the ponytail through twice if your hair is very silky.

8. Bubble Ponytail
Time: 6 minutes. Tools: brush, four or five small elastics. Best for: straight and wavy hair, fine hair especially — the bubbles make it look much fuller. Heatless.
Make a high or mid ponytail and secure it. Then place another elastic a few centimetres down, and gently pull the hair between the two elastics outward so it puffs into a bubble. Repeat down the length of the ponytail, spacing the elastics evenly. This look is playful and young, it holds up brilliantly on a long day, and it is one of the best tricks I know for making fine hair look thick.
Make it last: use small clear elastics and pull each bubble out evenly, checking from the side as you go. Common mistake: bubbles that are different sizes and look messy in the wrong way. Fix it by measuring the gaps with your fingers — about three fingers wide between elastics — before you puff each section out.

9. Claw Clip Twist (1 Minute)
Time: 1 minute. Tools: one large claw clip. Best for: all hair types, especially thick hair that eats small clips for breakfast. Heatless.
Gather your hair at the back as if you are making a low ponytail, twist it up toward the crown, fold the ends over, and clamp the claw clip over the twist. Let the ends fan out a little at the top. That is the whole style, and it is the reason claw clips have made such a comeback — one minute, no elastic, no pins, and you look like you meant it. For more claw clip ideas, see 23 claw clip updo hairstyles for women.
Make it last: twist the hair firmly before you clip, and choose a clip with strong teeth if your hair is heavy. Common mistake: the clip sliding down. Fix it by clipping over the twist itself, not just over loose hair, and by pushing the clip upward slightly after you close it.

10. Braided Ponytail
Time: 7 minutes. Tools: brush, two elastics. Best for: thick and wavy hair; it is a gym favourite because nothing moves. Heatless.
Make a high ponytail first, then braid the ponytail itself in a simple three-strand braid and secure the end. Gently pull the braid loops wider for fullness. You get the lift of a ponytail and the tidiness of a braid in one style, and it is perfect for workouts, windy days, and long commutes when loose hair would end up everywhere.
Make it last: use a strong elastic at the top and wrap a strand around it to hide it. Common mistake: the braid unravelling at the bottom. Fix it by securing the end with two elastics, one over the other, and by braiding the last few crosses a little tighter.

11. Half Bun / Topknot
Time: 4 minutes. Tools: brush, elastic, two bobby pins. Best for: wavy and curly hair, thick hair; fine hair looks great too with a little backcombing at the crown. Heatless.
Take the top half of your hair, from temple to temple, and gather it on top of your head. Twist it into a small bun and secure it with an elastic, pinning any loose ends underneath. Let the bottom half fall loose. This is the weekend version of the half-up look — a little more fun, a little more relaxed, and it keeps the front of your hair out of your eyes while you get on with your day.
Make it last: anchor the bun with pins crossed in an X so it does not wobble. Common mistake: a topknot that sits too far back and looks like a bump. Fix it by placing the bun right on top of your head, where you can see it when you look up, not behind the crown.

12. Low Ponytail with a Plait
Time: 8 minutes. Tools: brush, two elastics. Best for: straight and wavy hair, thick hair; it is elegant enough for work and a wedding guest. Heatless.
Take a small section of hair from one side, braid it into a thin plait, and secure it with a clear elastic. Then gather all of your hair into a low ponytail, wrapping the plait around the base of the ponytail and pinning it underneath. The plait is a small detail, but it changes the whole look — suddenly a simple low ponytail looks considered and a little bit special.
Make it last: braid the plait tightly, even if the rest of the style is soft, so it holds its shape. Common mistake: the plait disappearing into the ponytail. Fix it by wrapping it around the elastic on the outside, not underneath it, and by keeping it to the front of the ponytail where it can be seen.

13. Slicked-Back Bun
Time: 5 minutes. Tools: brush, gel or smoothing cream, elastic, bobby pins. Best for: straight hair and fine hair; it tames flyaways better than any other bun here.
Smooth a small amount of gel through the top and sides of your hair, brush it all back into a mid or low bun, and secure it. Tuck in any loose ends and smooth the hairline with the brush. This is the clean-girl look you see everywhere, and it is genuinely useful — on a humid day, a bad hair day, or a day when you want your makeup and earrings to do the talking.
Make it last: use gel, not just hairspray, because gel actually holds the hairline. Common mistake: a slicked-back bun that looks greasy. Fix it by using a pea-sized amount of product and brushing it through evenly, rather than piling it on the top layer.
14. Side Part with Soft Waves
Time: 8 minutes. Tools: brush, heatless curlers or overnight braids, or a curling wand if you prefer heat. Best for: wavy and straight hair, medium to thick. Heatless option: use the overnight braid method from look 6.
Make a deep side part, then brush your waves to one side so they fall over one shoulder. The deep part gives instant volume at the roots and makes the waves look fuller and more glamorous, even though the waves themselves are soft and natural. This is my favourite party version of an easy hairstyle — it looks like a blowout, but it is really just a parting and a good night of braids.
Make it last: clip the part in place with a bobby pin for the first ten minutes while you get dressed, then remove it. Common mistake: waves that fall flat on the heavy side. Fix it by lifting the roots at the part with your fingers and a little dry shampoo, instead of letting the hair lie flat against your head.

15. Rope Braid
Time: 6 minutes. Tools: brush, elastic. Best for: straight and wavy hair, thick hair; it looks especially neat on smooth hair. Heatless.
Gather your hair into a low ponytail and split it into two sections. Twist each section in the same direction, then twist the two sections around each other in the opposite direction, holding the ends firmly as you go. Secure with an elastic. A rope braid looks like a twisted cord — clean, strong, and a little bit different from an ordinary braid, which is why I reach for it when I want something that looks a bit more put-together without any extra effort.
Make it last: keep twisting both sections the same way all the way down, and do not let go of the ends until the elastic is on. Common mistake: a rope braid that unravels. Fix it by twisting the sections tighter than you think you need, and by wrapping the elastic around twice.
16. Wet-Look Curls
Time: 10 minutes. Tools: curl cream or gel, wide-tooth comb. Best for: curly and wavy hair, thick hair. Heatless.
On damp hair, work a small amount of curl cream through your curls with your fingers, then scrunch upward in sections and let your hair air-dry without touching it. The curls will dry defined and glossy, with that wet-look shine, instead of drying into frizz. This is a wonderful summer look, and it is also one of the kindest things you can do for curly hair, because there is no heat and no brushing involved.
Make it last: do not touch your curls while they dry, and refresh them the next day with a little water and cream. Common mistake: crunchy curls. Fix it by using less product than you think, and by scrunching out the crunch once your hair is fully dry — the curls will soften and stay defined.

17. Braided Crown
Time: 10 minutes. Tools: brush, two elastics, four bobby pins. Best for: wavy and curly hair, thick hair; it is the prettiest party look on this list. Heatless.
Part your hair down the middle and make two low braids, one on each side. Bring the right braid up over the top of your head and pin it behind your left ear, then bring the left braid up and pin it behind your right ear, tucking the ends underneath. The two braids cross like a crown, and the rest of your hair stays down. It feels romantic and a little bit like a special occasion, even if the occasion is just a nice dinner.
Make it last: pin each braid in at least two places, and hide the pins under the braid. Common mistake: a crown that slides forward. Fix it by pinning the braids into the hair at the sides of your head, not just into each other, so they are anchored on both sides.
18. Twisted Crown
Time: 7 minutes. Tools: brush, two bobby pins. Best for: straight and wavy hair, fine to thick. Heatless.
Take a section of hair from each temple, twist each one back toward the centre, and join them at the back of your head with bobby pins crossed in an X. Let the rest of your hair fall loose. It is simpler than a braided crown, it takes less time, and it gives you the same romantic, pulled-back feeling — perfect for a day when you want to look a little dressed up without doing a full style.
Make it last: twist each side firmly and pin them where they meet, not lower down. Common mistake: twists that come undone at the back. Fix it by crossing two pins in an X over the join, and by twisting the hair a little tighter at the start.
19. Oversized Scrunchie Low Pony
Time: 2 minutes. Tools: brush, one oversized scrunchie. Best for: all hair types; fine hair loves it because the scrunchie adds volume at the base. Heatless.
Brush your hair back into a low ponytail and secure it with an oversized scrunchie, wrapping it around twice. Pull a few strands out at the front, and gently tug the ponytail at the top so it has a little softness. A scrunchie is kinder to long hair than a thin elastic, it does not leave a dent, and it turns the simplest ponytail into a look that feels intentional.
Make it last: wrap the scrunchie around twice, not once, so it holds without pulling. Common mistake: a scrunchie ponytail that looks too casual for work. Fix it by smoothing the top with a brush and choosing a scrunchie in a plain colour, like black, navy, or a soft neutral.
20. Baby Braids Framing the Face
Time: 5 minutes. Tools: brush, two tiny clear elastics. Best for: straight, wavy, and curly hair; it is lovely on fine hair because the braids add detail without needing volume. Heatless.
Take a small section of hair from each side of your part, right at the front, and braid each one into a thin baby braid. Secure with tiny clear elastics and let the rest of your hair stay down. These little braids frame your face, keep the front pieces out of your eyes, and give a plain loose hairstyle a sweet, thoughtful finish. They are also perfect for school and for days when you want something a little different but still very easy.
Make it last: braid the baby braids tightly, even if the rest of your hair is soft. Common mistake: baby braids that are too thick and look like ordinary braids. Fix it by taking only a finger-width of hair for each one — small is the whole point.
21. Pin-Straight Sleek Finish
Time: 10 minutes with a flat iron, or 2 minutes if your hair is naturally straight. Tools: brush, flat iron, heat protectant. Best for: straight hair, and wavy hair that you want to wear smooth.
Brush your hair until it is completely smooth, apply heat protectant, and run a flat iron through it in slow, even sections from roots to ends. Part it in the middle, tuck it behind your ears if you like, and finish with a tiny drop of serum on the ends. Pin-straight hair looks incredibly sleek and polished, and it is a beautiful way to show off the length itself — sometimes the simplest finish is the most striking one.
Make it last: use heat protectant every time, and do not go over the same section twice. Common mistake: flat-ironed hair that looks flat and lifeless. Fix it by lifting the roots with a brush as you straighten the top layer, and by leaving the very ends with a tiny bit of movement instead of pressing them perfectly straight.
Frequently Asked Questions
What is the easiest hairstyle for long hair? A sleek high ponytail or a claw clip twist. The ponytail takes four minutes and suits work, school, and the gym. The claw clip twist takes one minute and needs only a clip. Start with one of those, then try a messy bun or a half-up style when you have a few more minutes.
How can I make an easy hairstyle last all day? Start with hair that is not freshly washed — second-day hair holds styles better. Use a second elastic on heavy ponytails, pin buns through the hair underneath, and finish with a light mist of hairspray. For braids, braid a little tighter at the top and looser at the bottom.
Are these hairstyles heatless? Most of them are. The messy bun, half-up half-down, classic braid, low bun, soft waves, twisted ponytail, bubble ponytail, claw clip twist, braided ponytail, half bun, low ponytail with a plait, rope braid, wet-look curls, braided crown, twisted crown, scrunchie pony, and baby braids all need no heat. Only the side part with soft waves and the pin-straight finish use heat, and both have a heatless option.
Which hairstyle is best for thick long hair? A low bun, a braided ponytail, a claw clip twist, or a rope braid, because they hold heavy hair securely. Use strong elastics and pin through the bun into the hair underneath, and your style will stay put.
Which hairstyle is best for fine long hair? A bubble ponytail, a half bun, a twisted crown, or an oversized scrunchie low pony. The bubbles, the bun, and the scrunchie all add volume at the base, so fine hair looks fuller without any teasing.
Save This for Tomorrow Morning
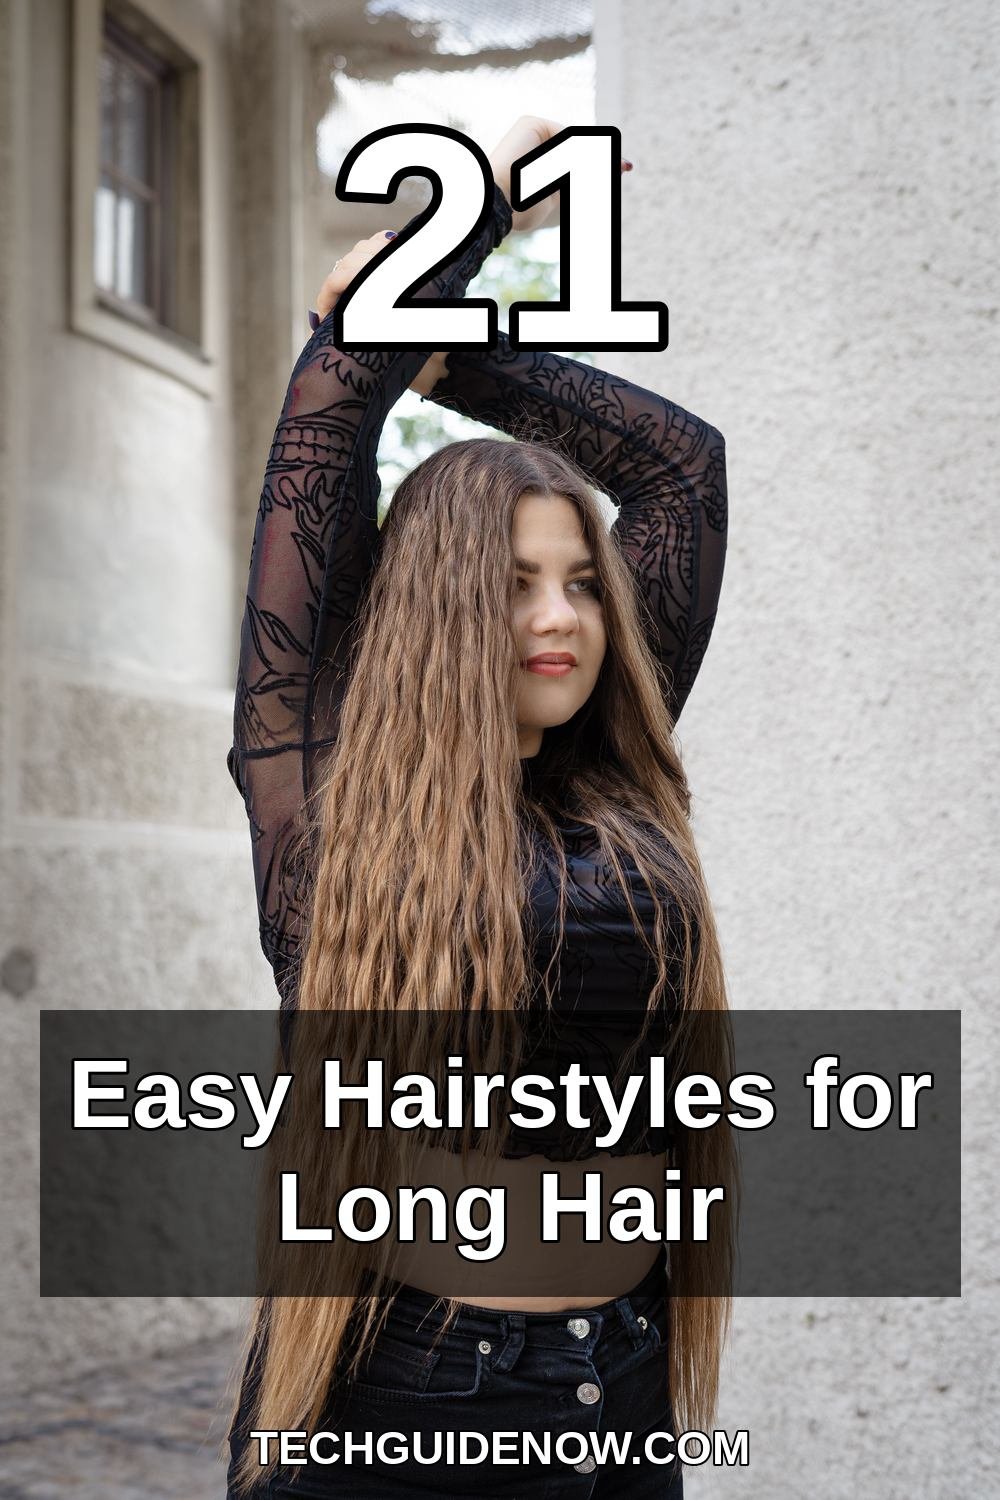
Save this pin on Pinterest so your favourite 2-minute style is waiting for you tomorrow morning: Save this pin on Pinterest.

Want a caption for your own pin? Try the site’s free Pinterest Caption & Pin Generator to create your own pin caption in seconds.
Long hair does not have to mean a long morning. Pick one style from this list — just one — and try it tomorrow morning. Maybe it is the one-minute claw clip twist on a day when you are running late, or the soft overnight waves on a day when you want to feel a little bit special. Keep the two or three you love most by the mirror, in your head and in your hand, and let the rest of the list wait for the days you feel like trying something new. That is how a go-to list works: it is not about doing all 21 looks, it is about finding the few that feel like you. I hope one of these becomes yours, and I hope tomorrow morning feels just a little bit easier — and a little bit more beautiful — because of it.