
If you have low porosity hair, winter can feel like a losing battle. You do everything right — you buy the rich masks, you slather on the butters, you leave the conditioner in for ages — and your hair still feels dry on the inside and coated on the outside. Products sit on top of your strands instead of sinking in, your hair takes forever to get wet in the shower, and by February it feels limp, dull, and weighed down no matter what you try. Here is the truth: your hair is not being difficult. It is just low porosity, and winter makes every low-porosity quirk worse. This 19-step winter hair care routine for low porosity hair is built around how your hair actually works — lightweight moisture, gentle warmth to open the cuticle, and regular clarifying so nothing builds up.
Low porosity hair has a tightly closed cuticle, which means the outer layer of each strand lies very flat. That is actually a strength: once moisture gets in, low porosity hair holds onto it beautifully. The problem is getting it in there in the first place. Heavy creams and butters cannot pass through that tight cuticle, so they pile up on the surface instead, leaving your hair greasy at the roots and thirsty at the ends. Winter adds cold dry air, indoor heating, hats, and static to the mix, and suddenly the routine that worked in summer stops working completely.
The fix is not more product — it is the right products, used the right way. If you are building a whole winter hair care system, you may also like our 15 winter hair care routines for grey hair, which shares many of the same gentle-washing and moisture ideas. And for more seasonal ideas, browse the full Hair Ideas collection on Nova Fashion. Now, let us start with what low porosity really means, then walk through the routine step by step.

What Low Porosity Hair Really Means (And Why Winter Makes It Trickier)
Think of each hair strand as a roof covered in tiny shingles. In low porosity hair, those shingles lie flat and tightly overlapping, like a brand-new roof. Water and product roll off instead of soaking in — which is why your hair can take minutes to get fully wet in the shower, and why a deep conditioner sometimes seems to do nothing at all. The classic test is the float test: drop a clean strand of shed hair into a glass of water and watch. If it floats on top for a long time, your cuticle is tight and your hair is low porosity. If it sinks quickly, your hair is high porosity and absorbs everything fast. Neither is better or worse — they just need opposite care.
Winter makes the low-porosity challenge harder in three ways. First, cold air holds almost no moisture, so there is less hydration in the air for your hair to grab. Second, indoor heating dries out your home, your skin, and your hair, so the moisture you do manage to get in evaporates faster. Third, hats and scarves create friction and static, which roughs up the cuticle just enough to let moisture escape — without ever opening it enough to let moisture in. The result is the classic low-porosity winter complaint: hair that feels both greasy and dry at the same time, with product buildup at the roots and straw-like ends. The steps below are designed to break that cycle.

Steps 1–2: Warm-Water Washing That Opens the Cuticle
Step 1: Start every wash with warm water — not hot, not cold. Warmth is your best friend with low porosity hair, because gentle heat is the one thing that coaxes a tight cuticle open. Before you apply any shampoo, stand under warm water for a full two to three minutes and let your hair soak completely. Low porosity hair resists water, so a quick splash is not enough — you need time for the water to actually penetrate. Use your fingers to gently separate sections and make sure the water reaches your scalp and the hair underneath. If your hair still feels dry in the middle after two minutes, keep going. This soaking step is the foundation of the whole routine: everything that follows works better on hair that is truly, thoroughly wet.
Step 2: Wash in sections so every strand gets clean. Low porosity hair is dense and resistant, which means shampoo can slide right off the surface without ever reaching the scalp. Divide your hair into four sections — two at the front, two at the back — and wash one section at a time. Apply a small amount of shampoo to your fingertips, massage it into the scalp of that section with the pads of your fingers, and work the lather gently down the length. Rinse, then move to the next section. It takes an extra minute, but it means your scalp actually gets clean and your shampoo is not wasted on the outer layer of hair. In winter, wash every three to four days: often enough to prevent buildup, but not so often that you strip away the moisture you worked so hard to get in.

Steps 3–4: Choosing a Lightweight Shampoo That Actually Cleans
Step 3: Pick a lightweight, sulfate-free shampoo — and read the label. Low porosity hair does not need a heavy, creamy shampoo; it needs a light formula that cleans without leaving a film behind. Look for shampoos labeled lightweight, volumizing, or clarifying-light, and check the ingredient list for heavy oils and butters near the top — shea butter, coconut oil, and castor oil in the first few ingredients usually mean the formula is too rich for your hair type. A good low-porosity shampoo should rinse out completely and leave your hair feeling clean but not squeaky. If your hair feels coated after rinsing, the shampoo is too heavy, no matter how expensive it was.
Step 4: Use less shampoo than you think you need. Because products sit on low porosity hair instead of absorbing, using too much shampoo is the fastest route to buildup. A coin-sized amount per section is plenty — remember, you are washing in four sections, so a little goes a long way. Focus the shampoo on your scalp, where the oil and buildup actually live, and let the lather run down the lengths as you rinse. The lengths do not need direct shampoo; the runoff is enough to clean them. This one change — less product, better placement — makes a visible difference within two washes: lighter roots, more movement, and hair that does not feel weighed down by midweek.

Steps 5–6: Lightweight Moisture That Absorbs Instead of Sitting on Top
Step 5: Switch to water-based, lightweight leave-in products. This is the change that transforms low porosity hair. Heavy leave-in creams and thick butters sit on your strands like a coat of paint; water-based leave-ins, milky lotions, and light serums actually slip through the tight cuticle and hydrate from within. When you shop, look for products where water is the first ingredient and the texture feels like a light lotion rather than a thick cream. Apply leave-in to soaking wet hair — not damp, not towel-dried — because water is the vehicle that carries the product into the strand. Smooth it through in sections, then scrunch or smooth gently. Your hair should feel hydrated and soft, never coated or sticky. If it feels sticky, you used too much: a pea-sized amount per section is the right starting point.
Step 6: Use steam or gentle heat to help moisture sink in. Low porosity hair responds beautifully to a little warmth. After applying your leave-in or conditioner, wrap your hair in a warm, damp towel for ten minutes, or sit under a hooded dryer on low for the same amount of time. The gentle heat lifts the cuticle just enough for the product to slip inside, and when your hair cools, the cuticle closes again and seals the moisture in. If you do not own a hooded dryer, a shower cap plus a warm towel works just as well — the heat from your own head warms the towel and creates a mini steam treatment. Do this once a week with your deep conditioner and you will feel the difference immediately: softer hair that stays hydrated for days instead of hours.

Steps 7–8: Deep Conditioning With Gentle Heat
Step 7: Deep condition once a week — with a light formula, not a heavy mask. Deep conditioning is essential for low porosity hair in winter, but the formula matters more than the frequency. Skip the thick butter masks that promise intense repair; they are too heavy to penetrate and will leave your hair limp. Instead, choose a lightweight deep conditioner or a hydrating mask with a thin, creamy texture. Apply it to clean, warm, wet hair in sections, comb it through with a wide-tooth comb, and cover your hair with a shower cap. Leave it on for twenty to thirty minutes — longer is not better with low porosity hair, because once the cuticle has absorbed what it can, extra time just adds buildup. Rinse with lukewarm water and your hair should feel soft and bouncy, not weighed down.
Step 8: Add heat while the mask works, then rinse cool. Pair your weekly deep conditioning with gentle heat, as in step 6: a warm towel over the shower cap, or a few minutes under a hooded dryer on low. Heat is the key that unlocks the low-porosity cuticle, and this is the moment to use it. When the time is up, rinse with lukewarm water first to remove the mask, then finish with a short cool rinse. That cool finish closes the cuticle and locks the moisture inside, which is exactly what you want heading into a cold, dry week. Think of it as sealing an envelope: the warm water opens it, the mask fills it, and the cool water seals it shut.

Steps 9–10: The LOC Method, Lightened for Low Porosity Hair
Step 9: Layer your products in the right order — liquid, oil, cream — but keep each layer feather-light. The LOC method (liquid, oil, cream) is famous for locking moisture into hair, and it works for low porosity hair too, as long as every layer is light. Start with a water-based leave-in on soaking wet hair. Next, seal with just a few drops of a lightweight oil — argan, grapeseed, or sweet almond oil — smoothed over the lengths. Finally, if your hair still feels like it needs hold or definition, add a tiny amount of a light cream or curl cream, focusing on the ends. The order matters: water first to hydrate, oil second to seal, cream last to define. Skip any layer your hair does not need — many low-porosity heads do beautifully with just liquid and oil, and adding a heavy cream on top undoes all the good work.
Step 10: Apply products to wet hair in sections, and do not overload. Low porosity hair absorbs slowly, so piling on product all at once just creates a sticky layer on the surface. Work in four sections, apply a small amount to each, and let it sink in for a minute before adding more. A good test: after applying your leave-in and oil, your hair should look shiny and feel soft — if it looks dull and feels tacky, you have used too much and it is time to clarify (steps 11–12 will help). In winter, you may need slightly more oil than in summer to fight the dry air, but add it one drop at a time. It is always easier to add more than to wash out too much.

Steps 11–12: Clarifying Without Stripping Your Hair
Step 11: Clarify once every two to three weeks to remove buildup. No matter how careful you are, low porosity hair builds up product faster than any other hair type — because so much of what you apply stays on the surface. When buildup takes hold, your hair looks dull, feels coated, and stops responding to conditioner. A clarifying shampoo resets everything. Use it once every two to three weeks in winter, massaging it into your scalp and through your lengths, then rinse thoroughly and follow immediately with your regular conditioner or a light mask. Your hair will feel lighter and cleaner, and your regular products will start working properly again. Do not clarify more often than this: over-clarifying strips the natural oils your hair needs and can make low porosity hair even more resistant.
Step 12: Try a gentle apple cider vinegar rinse — diluted, and only occasionally. If you prefer a natural clarifying option, a diluted apple cider vinegar rinse can dissolve buildup and smooth the cuticle. Mix one part vinegar with four parts warm water, pour it slowly over your hair after shampooing, let it sit for two minutes, then rinse thoroughly and condition as usual. Use this no more than once a month in winter, and never use it undiluted — straight vinegar is far too acidic and will dry your hair out. Done right, it leaves low porosity hair noticeably shinier and lighter, because it removes the invisible film that blocks moisture from getting in.

Steps 13–14: Protective Winter Styles That Keep Moisture In
Step 13: Wear protective styles that tuck your ends away. Your ends are the oldest, driest part of your hair, and winter air is hardest on them. Braids, twists, low buns, and flat twists keep your ends tucked away from cold air, hat friction, and coat collars. A simple two-strand twist or a loose braid takes five minutes and protects your hair all day. Keep the style loose — tight braids pull at the roots and cause breakage, which defeats the purpose. If you wear extensions or braids for the winter, make sure your own hair underneath is moisturized first, and do not leave a protective style in for more than a few weeks without washing and re-moisturizing.
Step 14: Line your hats and scarves with silk or satin. Wool hats and chunky scarves are warm, but they are also rough, and they grab at low porosity hair and create static and breakage. You do not have to give them up — just wear a silk or satin lining underneath. A silk scarf tied over your hair before your beanie goes on lets your hair slide instead of catching, which means no more hat-hair frizz and far fewer broken strands. The same trick works for scarves: drape a silk scarf between your hair and a wool scarf, especially at the nape of your neck where tangles form. When you take your hat off at the end of the day, slip it off gently instead of yanking it — your ends will thank you.

Steps 15–16: Nighttime Protection for Low Porosity Hair
Step 15: Sleep on silk or satin — pillowcase, bonnet, or both. Cotton pillowcases absorb moisture from your hair all night and create friction every time you turn over. A silk or satin pillowcase lets your hair glide instead of catching, which means you wake up with smoother hair, fewer tangles, and less breakage. For even more protection, wear a satin bonnet or a silk scarf to bed — it keeps your hair contained, holds in the moisture from your evening routine, and protects your style. If a full silk pillowcase is not in the budget right now, a satin one gives you most of the benefit for a fraction of the price. Either way, your morning routine gets shorter and your hair stays healthier.
Step 16: Put your hair up loosely before bed — never tight, never wet. Sleeping with your hair loose means eight hours of tossing, turning, and friction. Instead, gather it into a loose low braid or a soft pineapple on top of your head, secured with a silk scrunchie — never a tight rubber band, which dents and snaps hair. A loose braid has a bonus: you wake up with soft, natural waves that need no heat at all. Before you braid, smooth a drop of lightweight oil over the ends to seal in moisture overnight. And never go to bed with soaking wet hair in winter: wet hair is fragile, and it stays damp for hours in a cold bedroom, which stresses the cuticle. Dry your hair at least partway before bed, or wash earlier in the evening.

Steps 17–19: The Winter Schedule, Trims, and Salon Check-Ins
Step 17: Keep a simple winter schedule and write it down. A routine only works if you stick to it, so put it on your calendar: wash every three to four days, deep condition once a week with gentle heat, clarify every two to three weeks, and check your ends every month. When you can see the plan, you are far more likely to follow it — and you will spot problems early, before they become breakage. A small notebook or a phone reminder works perfectly. The goal is not perfection; it is consistency. Even following this routine most of the time will leave your low porosity hair noticeably healthier by spring.
Step 18: Trim your ends every eight to ten weeks. Low porosity hair holds onto split ends stubbornly, and dry winter air makes splits travel upward faster. A small trim every eight to ten weeks keeps your ends healthy and stops damage before it spreads. You do not need a big cut — a dusting of the very ends is enough. If you wear protective styles, ask your stylist to check your ends each time the style is redone. Healthy ends also absorb product better, so regular trims actually make the rest of your routine work more effectively.
Step 19: Book a salon check-in mid-winter. Around the middle of the season, book a professional deep-conditioning treatment or a consultation with a stylist who understands low porosity hair. A salon steam treatment can push moisture deep into the cuticle in a way that is hard to replicate at home, and a stylist can tell you whether your products are right for your hair or whether buildup has crept back in. Bring your current products with you and ask for an honest review — a good stylist will tell you what to keep, what to drop, and what to change for the rest of the winter.

Oils That Work for Low Porosity Hair (And the Heavy Butters to Skip)
Not all oils are equal for low porosity hair. The winners are lightweight oils that absorb easily: argan oil, grapeseed oil, sweet almond oil, and jojoba oil. Use just a few drops on damp hair to seal in moisture, or a little more on the ends as a finishing step. The ones to skip — or use very sparingly — are the heavyweights: coconut oil, castor oil, and shea butter. They are wonderful for high porosity hair, but on low porosity hair they sit on the surface, attract dust, and create buildup that blocks moisture. If you love coconut oil, try it once as a pre-wash treatment and rinse it out completely — never leave it in as a styler. The rule is simple: if it feels light and sinks in, it belongs in your routine; if it feels thick and sits on top, it does not.

Common Low Porosity Mistakes That Cause Buildup and Breakage
The most common mistake is using products that are too heavy — thick butters, rich creams, and heavy oils that coat your hair instead of hydrating it. The second is skipping the clarifying step: without a reset every few weeks, buildup quietly chokes your hair and nothing works. The third is applying products to dry or barely damp hair, where they cannot penetrate at all. The fourth is brushing dry hair aggressively — low porosity hair tangles easily at the ends, and ripping a brush through knots snaps strands. Always detangle on wet, conditioned hair with a wide-tooth comb, starting from the ends. And the fifth is using hot water: it feels good, but it strips the moisture your hair worked so hard to hold. Avoid these five mistakes and your routine will work with your hair instead of against it.

How to Tell Your Low Porosity Routine Is Working
Your hair will show you. The first sign is shine: light bouncing off a smooth, closed cuticle instead of a dull, coated surface. Next, your hair stays soft and hydrated for two or three days after washing, instead of feeling dry by the next morning. You will also notice less buildup at the roots, fewer tangles at the ends, and styles that hold their shape instead of falling flat. The float test is a fun check too: after a month on this routine, a shed strand dropped in water should still float — that is normal for low porosity hair — but it should feel softer and more flexible than before. If your hair still feels coated, clarify once and cut back the amount of product you use; less is almost always the answer with low porosity hair.
Low Porosity Hair on Winter Holidays and Trips
Holiday travel is where good routines fall apart, so pack smart. Decant your lightweight shampoo, leave-in, and a small bottle of argan oil into travel sizes, and bring your satin bonnet and a silk scarf — they fold down to nothing and protect your hair wherever you sleep. If you are flying, cabin air is brutally dry, so smooth a drop of oil over your ends before boarding. If you are heading somewhere snowy, wear your silk-lined beanie and keep a wide-tooth comb in your coat pocket for quick detangling after you come indoors. And if you are visiting family who keep their house roaring hot, keep a spray bottle of water nearby to refresh your hair without a full wash. A few small habits keep your low porosity hair happy even when your routine is on the road.

Winter Hair Care Routine for Low Porosity Hair: Frequently Asked Questions
How do I know if my hair is low porosity?
Try the float test: drop a clean shed strand into a glass of water. If it floats for a long time, your hair is low porosity. Other signs are hair that takes a long time to get wet, products that sit on top instead of absorbing, and hair that dries very slowly after washing.
Can I use coconut oil on low porosity hair in winter?
You can, but only as a pre-wash treatment that you rinse out completely. Coconut oil is too heavy to leave in low porosity hair — it coats the surface, blocks moisture, and creates buildup. Lightweight oils like argan, grapeseed, and jojoba are much better leave-in choices.
How often should I clarify low porosity hair in winter?
Once every two to three weeks is right for most people. Low porosity hair builds up product quickly, so a regular clarifying wash keeps your routine working. Follow every clarifying wash with conditioner or a light mask, and do not clarify more than once a week or you will strip the moisture you need.
Save This Winter Hair Care Routine for Low Porosity Hair for Later
Love this routine? Save the pin below so you can find it again whenever your low porosity hair needs a little winter love.
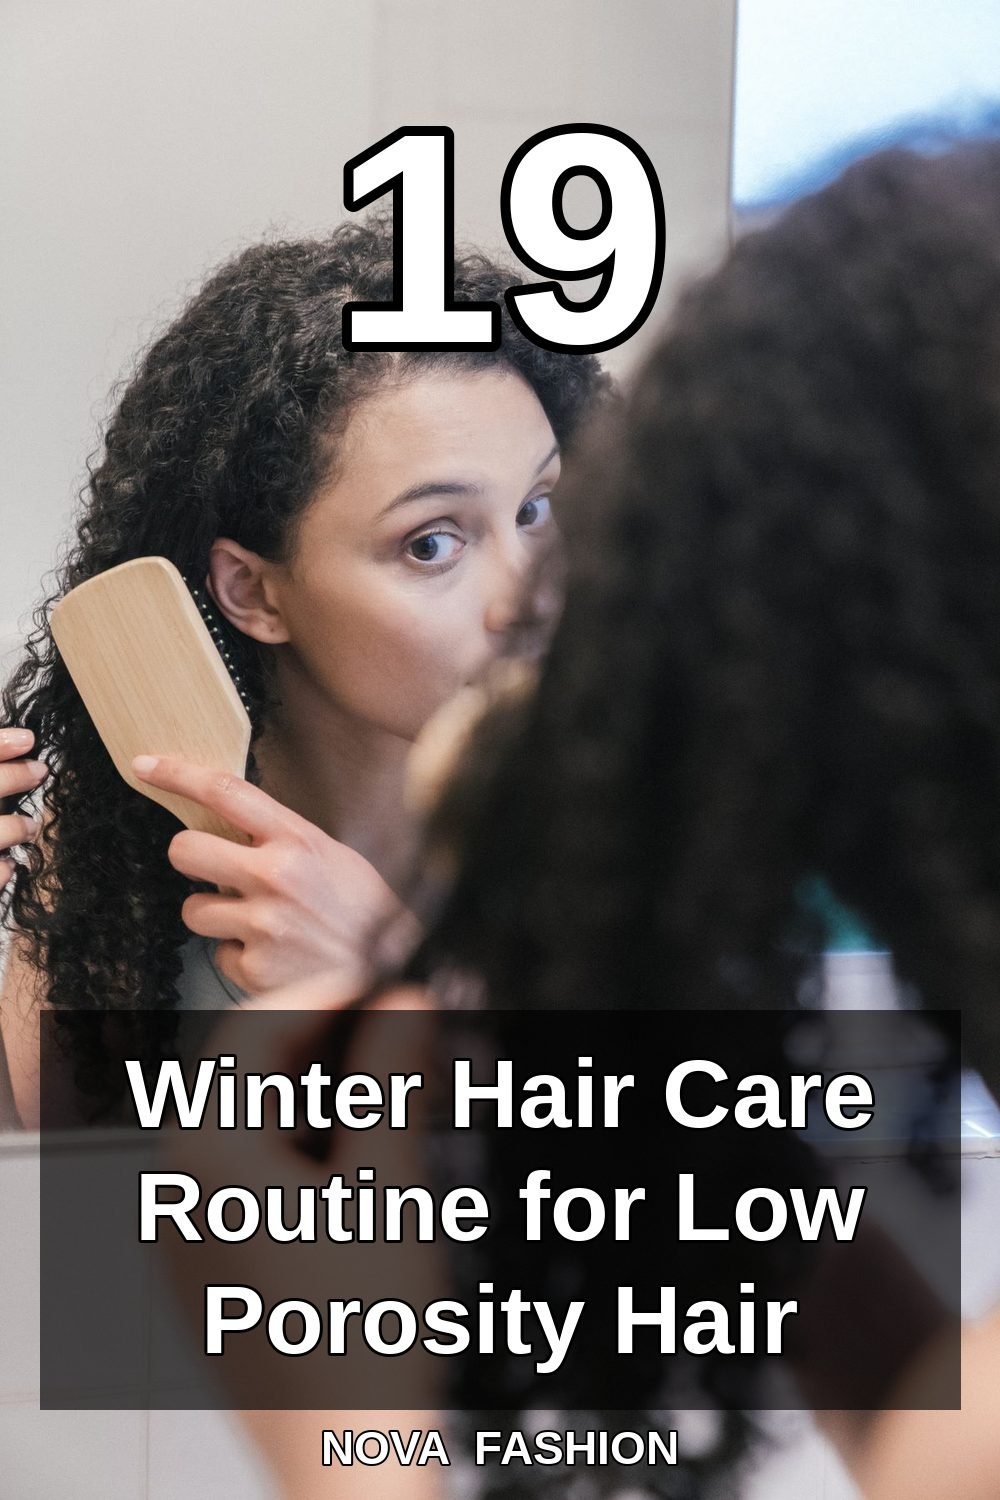
Save this winter low porosity routine to Pinterest

Want to create your own pin caption for this routine? Try our free Pinterest Caption & Pin Generator and make a caption that gets your pin noticed.
Your Turn: Give Your Low Porosity Hair the Winter Care It Deserves
Low porosity hair is not difficult hair — it is just hair with its own rules. Once you know them, everything gets easier: warm water to open the cuticle, lightweight products that actually absorb, gentle heat to help moisture sink in, regular clarifying to prevent buildup, and silk and satin to protect it all. Start with the two biggest wins — switch to a lightweight shampoo and apply your leave-in to soaking wet hair — then layer in the rest of the routine one step at a time. Before long, your hair will be softer, shinier, and easier to manage than it has been all year. Save this guide, share it with a friend whose products never seem to absorb, and follow Nova Fashion on Pinterest for more winter hair ideas all season long.
Pingback: 21-Step Winter Hair Care Routine for High Porosity Hair Nova Fashion