
Some colour combinations look good in a salon chair and then quietly fall apart in real life. Teal and pink is not one of them. On dark hair, these two shades do something neither can do alone: the teal goes deep and glassy, the pink goes bright and warm, and the dark base underneath makes both of them look richer than they ever would on blonde. It is the reason this pairing keeps showing up on saves and screenshots — it photographs beautifully, but it also holds up on a Tuesday morning when you are just trying to get out of the door.
This guide is built for dark hair specifically, because dark hair is not just a darker version of light hair when it comes to vivid colour. It needs different prep, different placement and a different kind of honesty about upkeep. Below you will find 12 teal and pink hair color ideas for dark hair, from a full split-dye to panels so subtle that only you know they are there, plus the practical stuff nobody tells you until it is too late: how much bleach matters, how to stop the colours bleeding into each other, and how the fade really looks at week four.
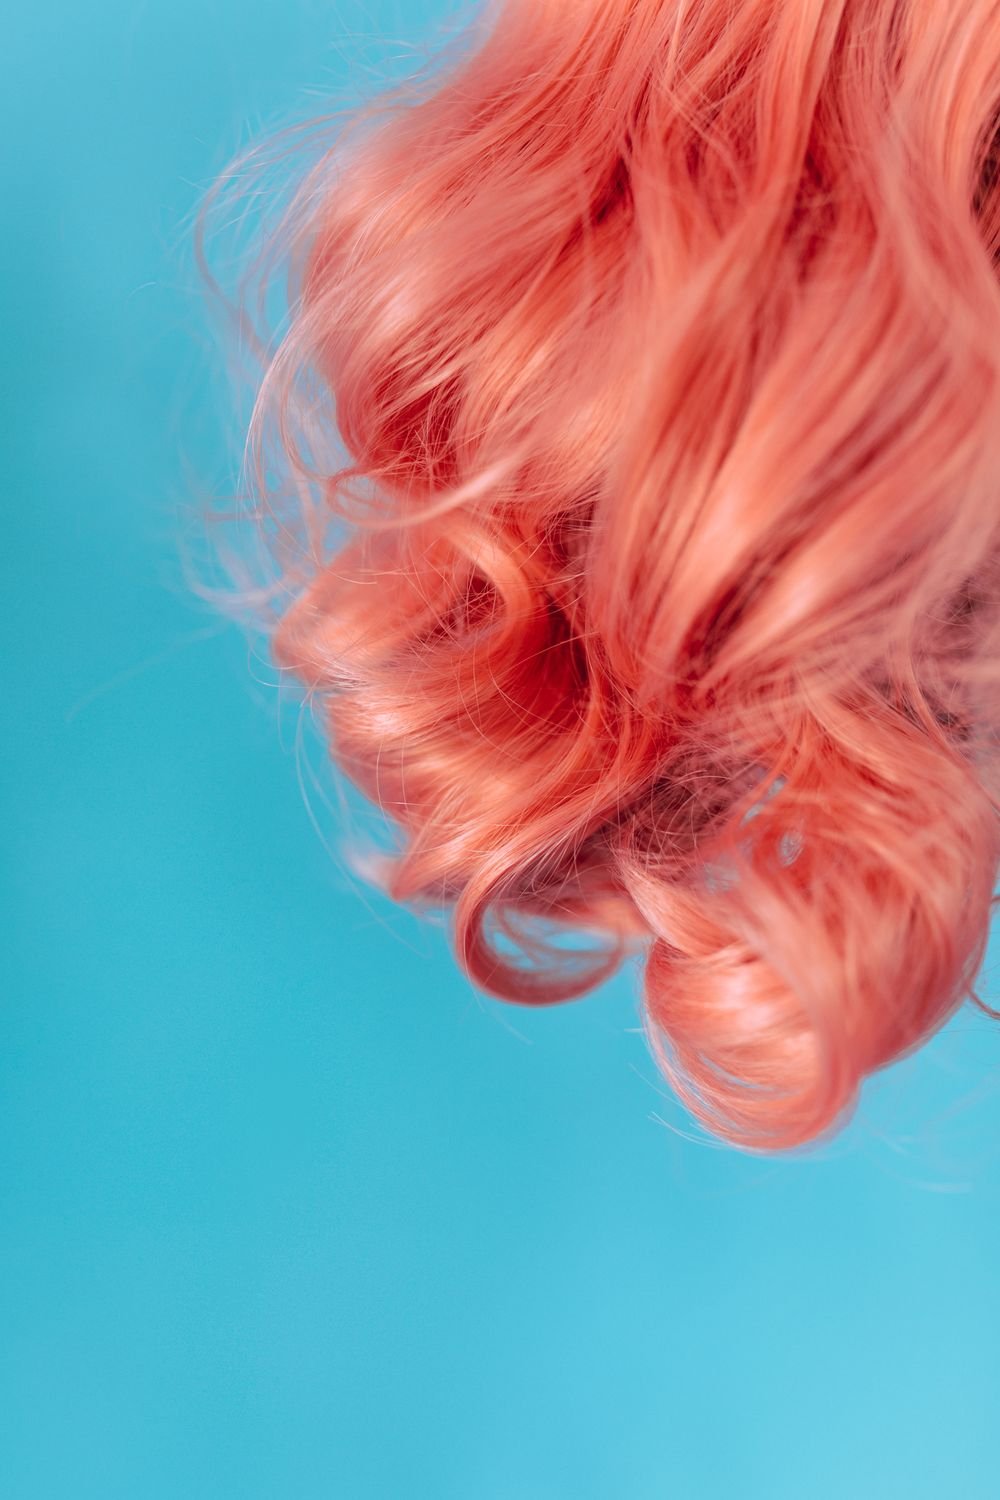
Why Teal and Pink Works So Well on Dark Hair
Teal and pink sit opposite each other in feeling, and that tension is exactly why they work. Teal is cool, calm and a little bit mysterious. Pink is warm, loud and unapologetically fun. Put them side by side on a dark base and neither one has to shout to be seen, because the contrast does the work. Dark hair acts like the frame around a picture: it deepens the teal so it reads as jewel-toned instead of chalky, and it keeps the pink from going bubblegum when you do not want it to.
There is also a practical reason this pairing lasts. Because the two colours are so different, your eye reads them as a deliberate design even as they fade. A single vivid colour on dark hair shows regrowth and fading fast, because there is nothing else to look at. With two colours, the eye moves between them, and a little softening at the edges reads as intentional blending rather than a mistake. It is one of the few vivid combinations that actually gets more forgiving as it ages, provided you place the colours with the fade in mind from the start.
Before You Book: What Dark Hair Really Needs First
The most important conversation to have before any teal and pink hair colour goes on dark hair is about the condition of your hair right now. Vivid colour is direct dye: it sits on the outside of the hair shaft rather than soaking in like permanent colour. That means it can only be as bright as the canvas underneath it. On untouched dark hair, most vivid dyes will show up as a tint in sunlight and almost nothing indoors. That is not a failure of the dye. It is physics, and any colourist who promises you neon pink on unbleached black hair is selling you a disappointment.
Start by being honest about your hair history. If you have box dye, henna, or old permanent colour sitting in the lengths, say so — all of it changes how evenly the hair will lift. Bring reference photos, but bring honest ones: photos of the colour on someone with your starting shade and your hair texture, not just the brightest photo on the internet. Ask your colourist to do a strand test. It takes ten minutes, it costs nothing, and it tells you exactly how your hair will respond before anyone commits to your whole head.
How Much Bleach Does Dark Hair Honestly Need?
Here is the honest answer nobody puts in a caption: for true, bright teal and pink on dark hair, the sections that carry the colour need to be lifted to at least a pale yellow — about a level 8 or 9 — before the dye goes on. Pink is the fussier of the two. On hair lifted only to orange or gold, pink turns into a muted peachy coral. It can be gorgeous, but it is not the pink in your reference photo. Teal is a little more forgiving: on hair lifted to a warm gold, teal goes deep and moody, almost peacock-like, which many people end up preferring.
That does not mean your whole head needs to be bleached. This is where placement earns its money. If only two panels or the underlayer are bleached, you are lifting perhaps a third of your hair, and the rest of your dark hair stays untouched and healthy. That is the whole logic behind the subtler ideas in this guide: you get the colour payoff where the eye actually lands, and your hair gets to keep its strength everywhere else.
Idea 1: The Classic Half-and-Half Split Dye
The split dye is the look that made this combination famous: one half of the head teal, one half pink, with a clean line down the centre. It is bold, it is symmetrical, and on dark hair it works better than on light hair, because the dark roots at the part line act as a natural divider — the two colours never have to compete with each other across a pale scalp.
Two things make or break a split dye. First, the parting. A ruler-straight centre part looks sharp and editorial, but it also shows regrowth fastest; a slightly soft, zigzag part at the crown forgives new growth for an extra week or two. Second, the boundary where the two colours meet at the back. Ask your colourist to foil the sections so the colours never touch while they process — teal and pink mixed together is a muddy mauve that belongs to nobody.
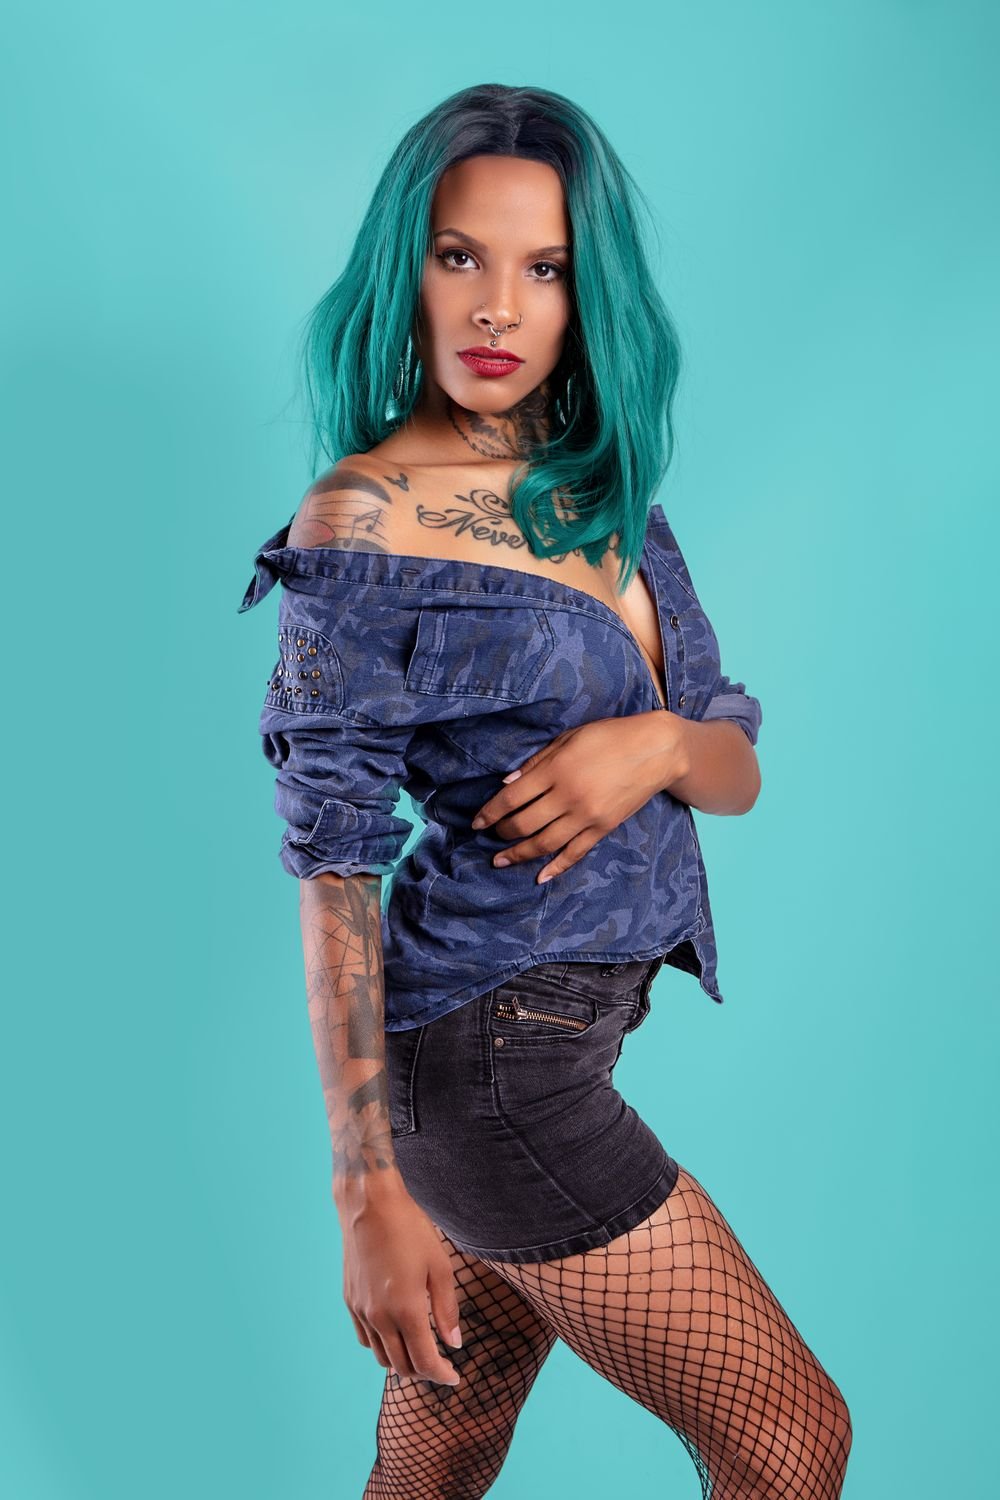
Idea 2: Teal on Top, Pink Underneath
If you love the split dye in theory but not the attention it brings to the supermarket, this is your version. Teal sits on the top layers and the crown, where it frames the face and reads first. Pink lives underneath, in the lower layers and the nape, where it flashes out when you move, tie your hair up, or catch a breeze. From the front you look like a teal-haired person. From the side you are a completely different story.
This placement is the kindest to dark hair, too. The top layer of hair takes the most sun and the most heat styling, so it is usually the most fragile; teal direct dye is conditioning by nature and actually makes the top layer look shinier. The pink underneath gets less washing and less sun, so it holds its brightness longer than pink on the top layer ever would.
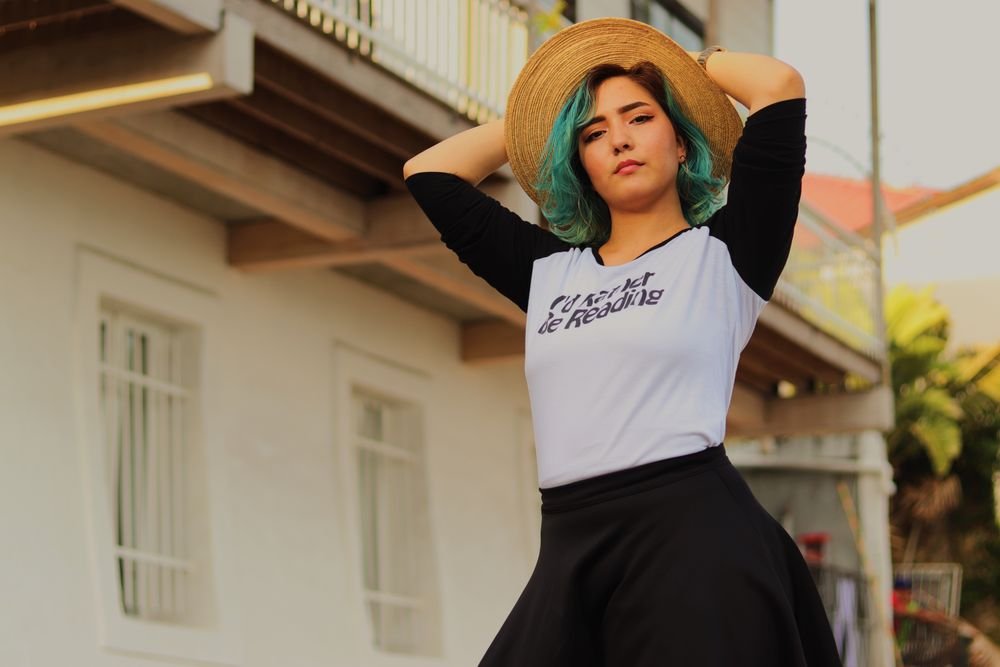
Idea 3: Pink Face-Framing Panels
Face-framing panels are the lowest-commitment way into this look, and they might be the most flattering. Two slim sections of pink run from the part line down past the cheekbones, framing the face the way a good fringe does. The rest of the hair — teal, dark, or a mix of both — plays a supporting role. From the front, the pink is all anyone notices. From the back, it is barely there.
Keep the panels narrow, about an inch wide, and start them slightly behind the hairline rather than right at it, so the colour does not hit the forehead when your hair is up. On dark hair, a face-frame in bright pink looks deliberate; the same pink in a wide, heavy chunk can look like an accident from a home dye kit. Ask for the teal to sit in the layers just behind the pink — even a whisper of teal there gives the eye somewhere to travel and stops the pink from floating on its own.
This is the version to choose if your job has opinions about hair, or if you are colour-curious rather than colour-committed. When the panels fade, they fade into soft rose around the face — still pretty, still intentional. And if you decide you want more, the panels are already there to build on at your next appointment.
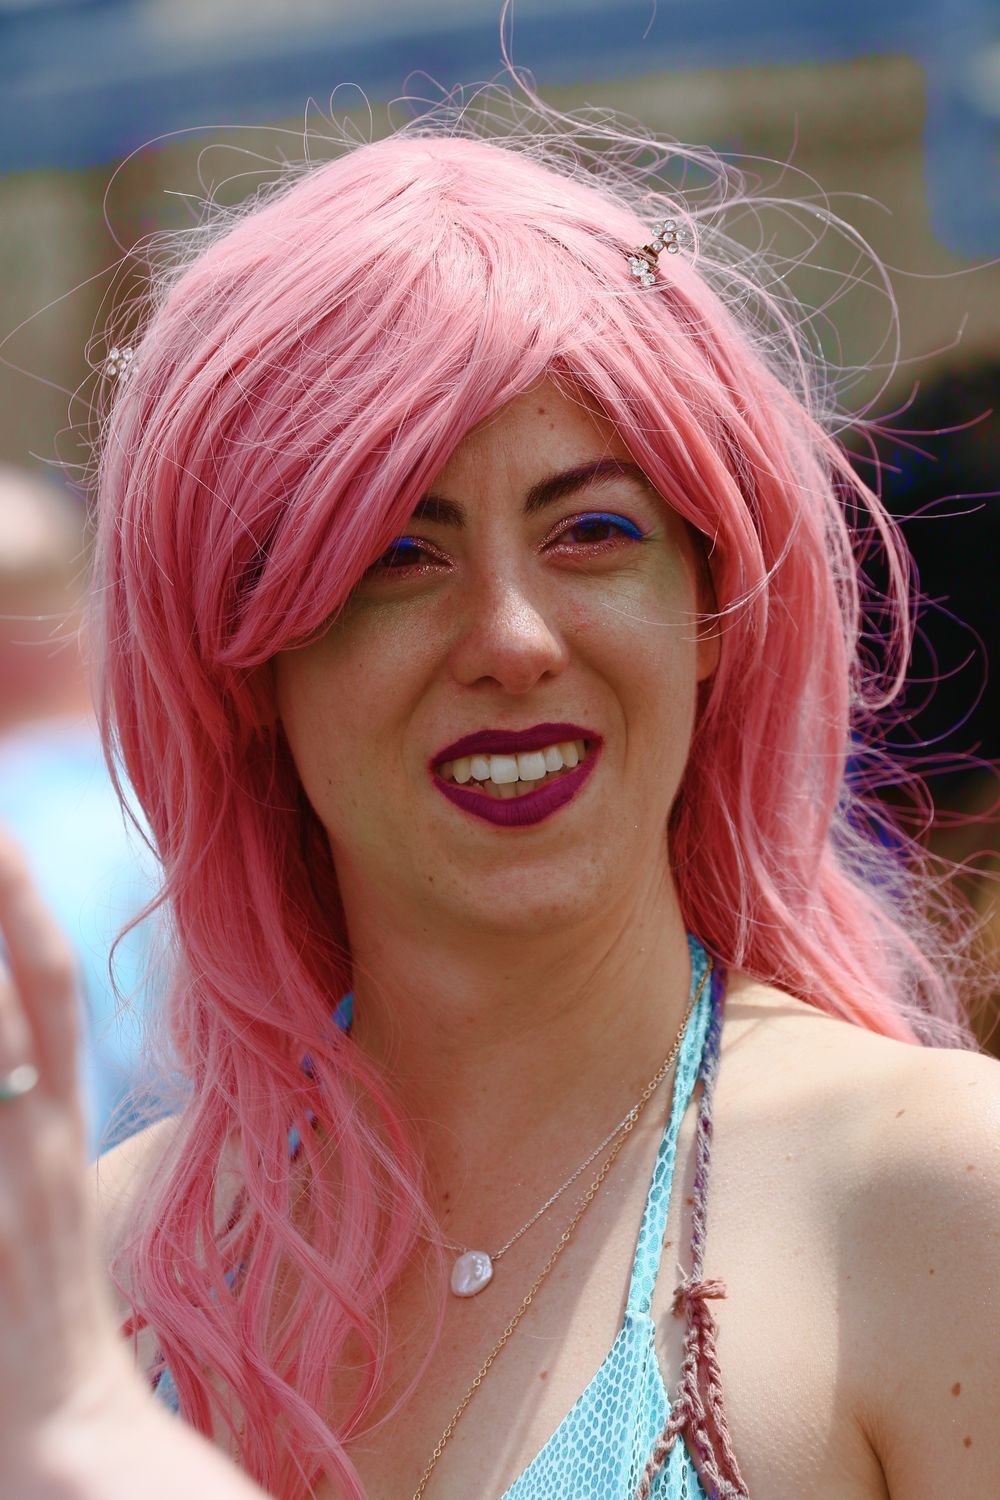
Idea 4: Teal Money Pieces with a Pink Peekaboo
Money pieces are having a long moment, and the teal version is the best of the bunch. Two bold teal sections frame the face, wide and confident, while a pink peekaboo hides in the layer just behind them. It is a colour combination that reads as one look from the front and a completely different one when you tuck your hair behind your ears.
The trick here is weight. Money pieces need to be thick enough to register as a deliberate design — a skimpy teal streak looks like a missed foil. Ask for each piece to be at least two fingers wide, starting at the hairline and running back about four inches. The pink peekaboo goes in the layer directly behind the money pieces, so it flashes through when the teal moves and vanishes when the hair is still.
Style this one sleek to show the structure, or with a soft wave to blur the edges between teal and pink into something that looks like the colours are melting into each other. It is also the most forgiving idea in this list for growing out: the money pieces are right at the front, where regrowth reads as intentional roots, and the peekaboo is hidden until you want it seen.
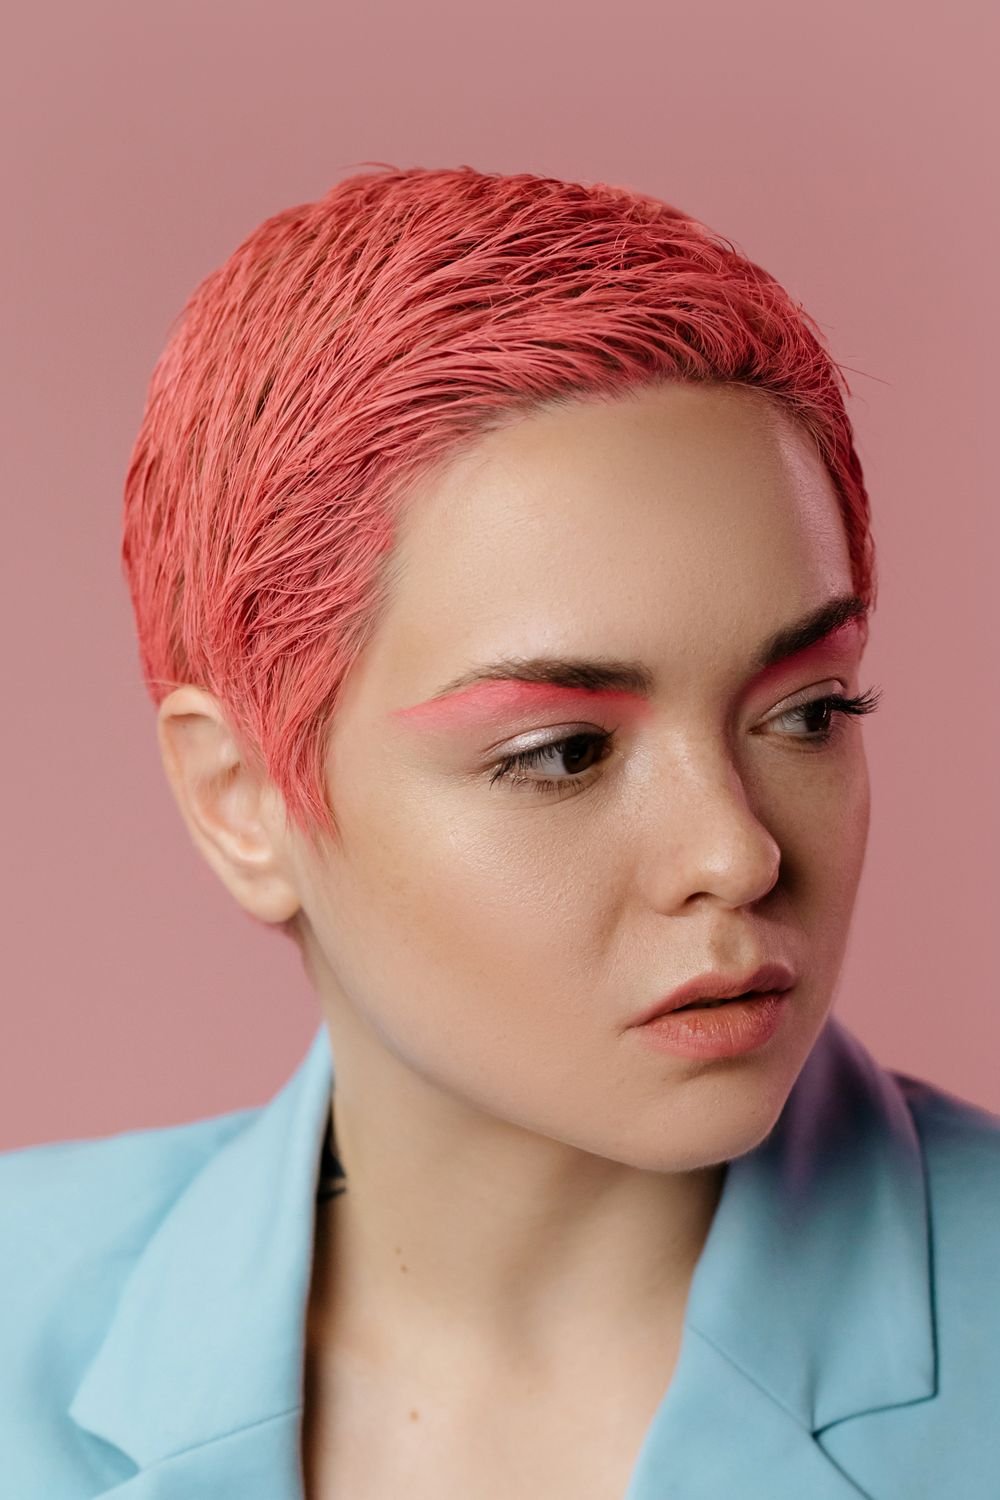
Idea 5: Dip-Dyed Ends in Teal and Pink
Dip-dyed ends are the original low-commitment vivid colour, and the two-tone version is better than the one-colour one. The last four to six inches of the hair go teal on one side and pink on the other, or alternating panels across the back, while the roots and mid-lengths stay dark. It reads as playful rather than permanent, and it is the easiest idea here to remove — a trim takes the whole experiment away if you change your mind.
Where the colour starts is everything. A hard horizontal line looks like you dipped your hair in a bucket; a soft, staggered finish — some strands starting an inch higher, some an inch lower — looks like the colour grew there. Ask for the teal and pink to be applied in panels that follow the way your hair naturally separates, and for the very tips to be the brightest part, because ends are the most porous and take colour best.
This one is made for long hair and for waves. Curls and waves break up the colour into ribbons, so the teal and pink weave in and out of each other instead of sitting in blocks. If your hair is fine or straight, add the colour as two or three chunky panels rather than all over the ends, or the bright sections will overwhelm the dark lengths.
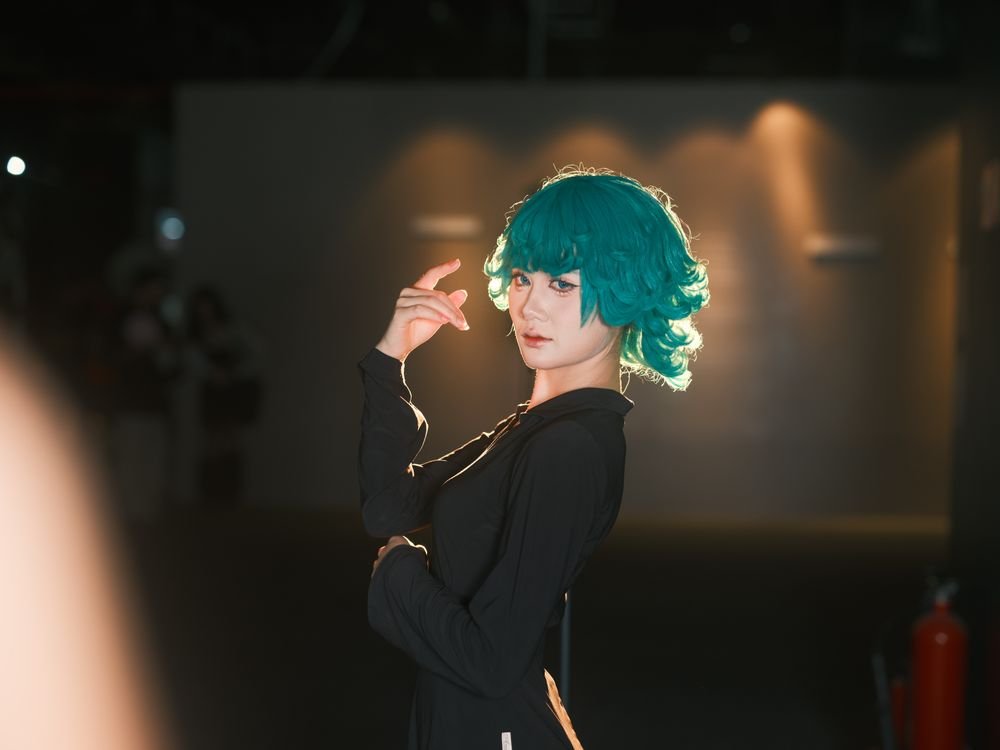
Idea 6: Mermaid Panels Through the Lengths
Mermaid panels are long, vertical ribbons of colour that run from the mid-lengths to the ends, hidden inside the dark hair until you move. Teal and pink alternate in panels about an inch wide, so every time your hair shifts, a different ribbon catches the light. It is the closest thing to the mermaid hair of our daydreams, but it is wearable — from the front, with your hair down, it can read as almost entirely dark.
The key is placement inside the layers rather than on the surface. The panels go in the middle layers of the hair, not the top and not the very bottom. That way they are genuinely hidden when your hair is still and genuinely surprising when it moves. If your colourist places them on the surface, they will look streaky; buried a layer down, they look like your hair is glowing from the inside.
Idea 7: The Hidden Underlayer
The hidden underlayer is the most secretive idea in this guide, and the one with the highest smile-per-ounce ratio. The entire underside of your hair — everything from the nape up to the ears — goes pink, while the top layer is teal, or even left entirely dark. With your hair down, nobody knows. Put it in a ponytail, a bun or a half-up, and the whole secret spills out.
Because it is hidden, this is the place to be boldest with the pink. Choose the shade you would wear if nobody at work could see it, because most of the time they cannot. The teal on top can be soft — a deep, moody teal that reads as almost-black indoors — and the pink underneath can be as bright as you dare. The contrast is the whole point, and the top layer protects it.
Two honest warnings. First, underlayers touch your neck and your collars, so expect the most colour transfer here — dark tops and dark pillowcases while the first washes are doing their thing. Second, the underlayer is the hardest part of your own head to refresh at home, because you cannot see it. Book the salon for your top-ups, or recruit a very good friend.
Idea 8: Teal Roots Melting into Pink Ends
Instead of dividing the head left and right, this look divides it top to bottom: teal at the roots melting through a violet middle into pink at the ends. On dark hair, the teal at the roots blends with the dark base so softly that regrowth is almost a non-event — new growth just looks like the dark section getting slightly longer. It is the most grown-out-friendly idea in this whole guide.
The melt is everything, and it is a technique question, not a product question. Ask your colourist to hand-paint the blend rather than foiling it in straight blocks, and to feather the teal into the pink with a brush rather than a hard line. Done well, the middle of your hair goes through a dusky violet-lilac phase that is arguably the prettiest part of the whole head — and it is the part that photographs best, too.
Keep this one long. A root-to-tip melt needs length to travel through, and it needs waves or loose curls to show the gradient off. Pin straight, the colour reads as a simple ombre; wavy, every turn of the hair shows a different point on the teal-to-pink journey.
Idea 9: Chunky Colour-Block Stripes
Chunky stripes are the most graphic idea on this list, and unapologetically so. Thick, vertical panels of teal and pink run through the dark hair like ribbons, usually three to five of them, placed where your hair naturally falls into sections. It is a haircut-and-colour combination that belongs to the same world as checkerboard nails and colour-block coats — bold, fashion-first, and impossible to ignore.
The stripes need to be chunky to work — think two fingers wide at least. Skinny stripes on dark hair go fuzzy at the edges within a week, and the whole thing reads as unintentional. Keep the stripes anchored at the root so they grow out as wide bands rather than thin lines, and ask for them to be placed on the top layer, where they catch the light, with the dark hair underneath acting as the negative space.
Idea 10: A Pastel Wash of Teal and Baby Pink
If the full-strength pairing feels like too much, the pastel wash is your version of the same idea. The hair is lifted a little lighter, and then washed over with soft, watercolour teal and baby pink. It is the same two colours, but spoken in a whisper instead of a shout — dreamy, romantic, and surprisingly grown-up.
Pastels demand the lightest base of all the ideas here, which is the trade-off: the colour is gentler, but the prep is heavier. The reward is a shade that fades gracefully, drifting from pastel into a soft, pearly blonde-pink that still looks intentional at week six. If you are colour-curious but commitment-shy, this is the smartest way to try teal and pink without living with neon.
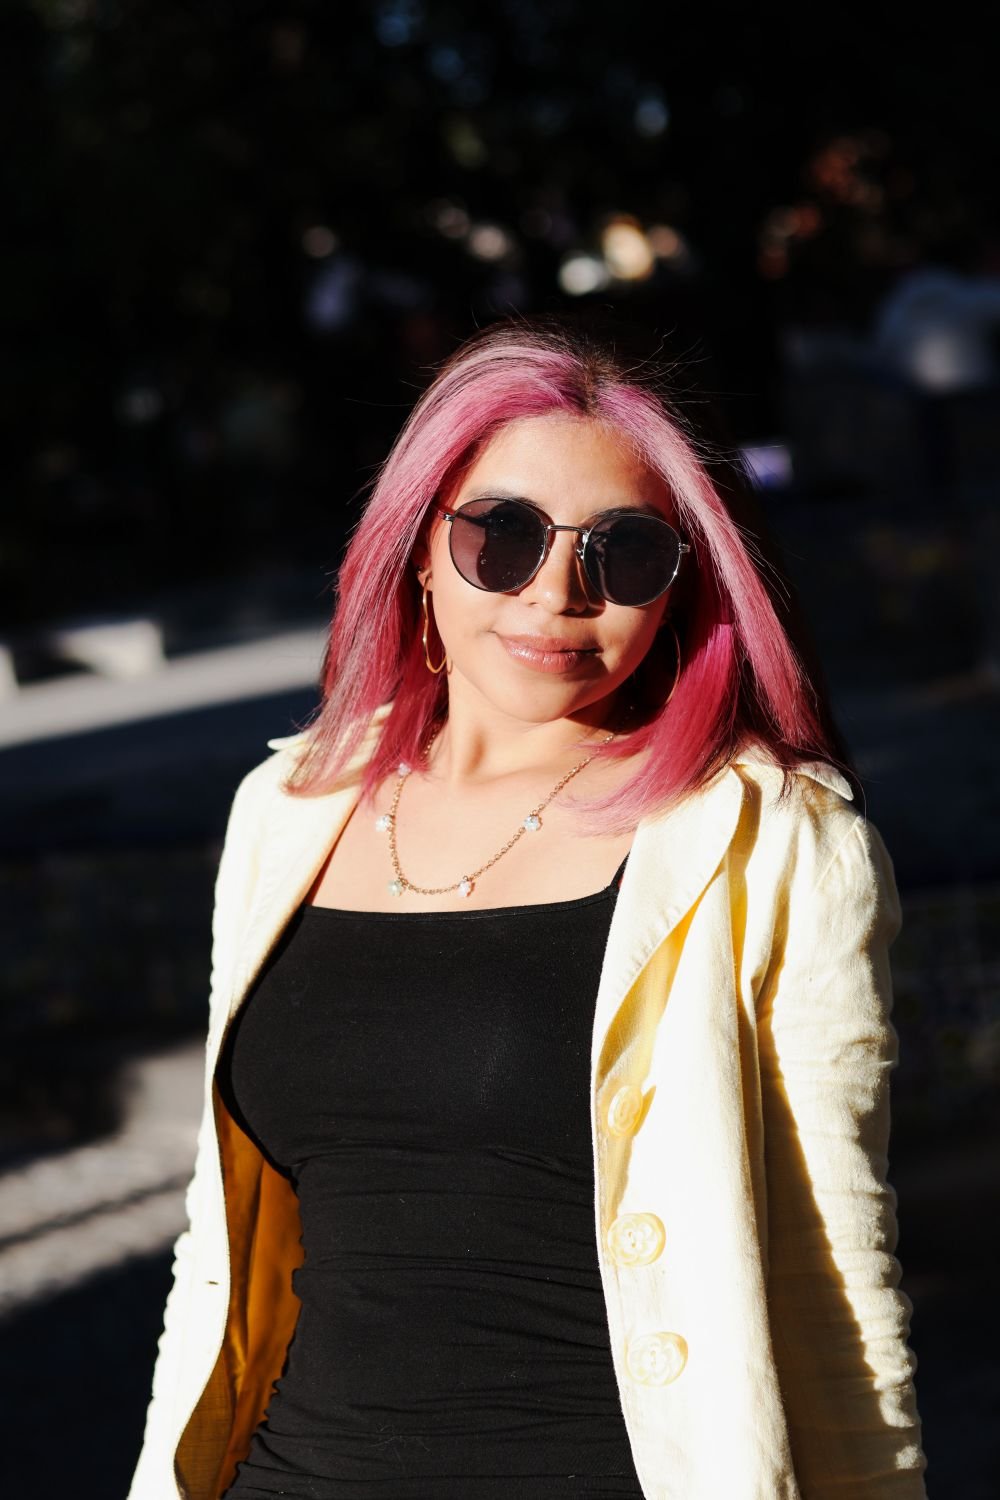
Idea 11: The Office-Friendly Version
Yes, you can take teal and pink to work — it is all in the dosage. The office-friendly version keeps the colours on the bottom half of the hair only, with the top six inches left dark. With your hair down, it reads as a dark-haired person who might have done something interesting at the weekend. In a topknot, it is a different story entirely, and that is exactly the point.
Choose the deepest versions of both colours for this one: a dark petrol teal rather than a bright aqua, and a dusty, muted pink rather than a hot one. Muted shades sit further back in the hair, they photograph as rich and glossy rather than loud, and they fade into colours that still look professional. Pair it with simple styling — smooth, sleek, no fuss — and let the colour be the only loud thing about the look.
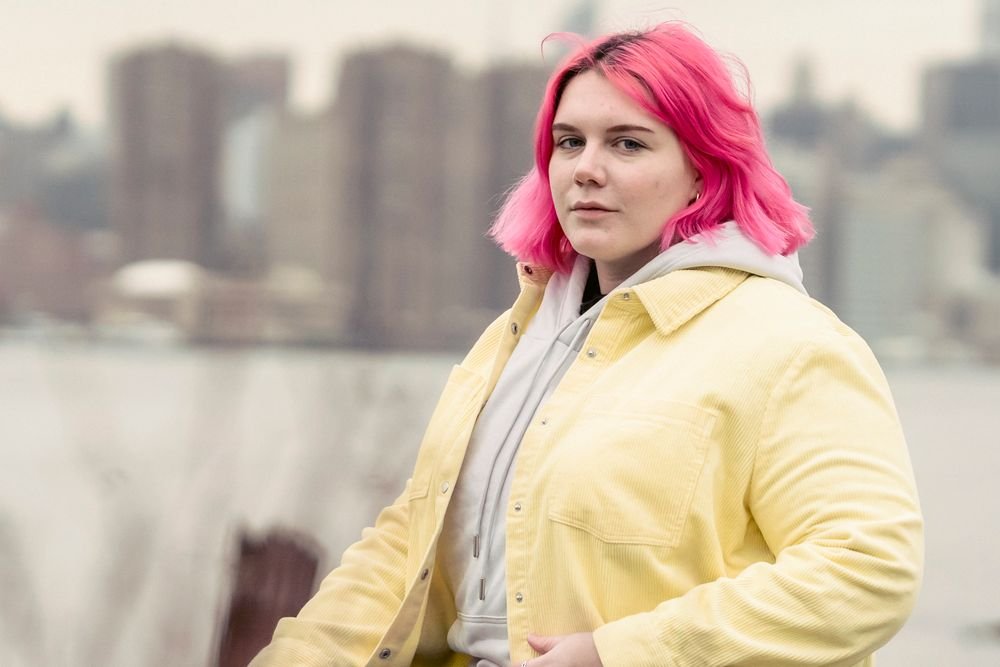
Idea 12: Subtle Panels You Can Hide or Show
The last idea is for everyone who wants the option, not the obligation. Two or three slim panels — one teal, one pink, maybe a second teal tucked at the nape — sit inside the dark hair where only movement reveals them. It is the smallest intervention on this list and, for a lot of people, the one they actually end up living with longest.
Because the panels are small, they are cheap to do and cheap to refresh, and they are the easiest place to experiment: try the pink brighter next time, or move the teal panel closer to the front. Think of it as a sampler. If you love it, you have a colourist, a routine and a palette already — scaling up to a split dye is just a matter of adding more of what you already know suits you.
Keeping Teal and Pink from Bleeding into Each Other
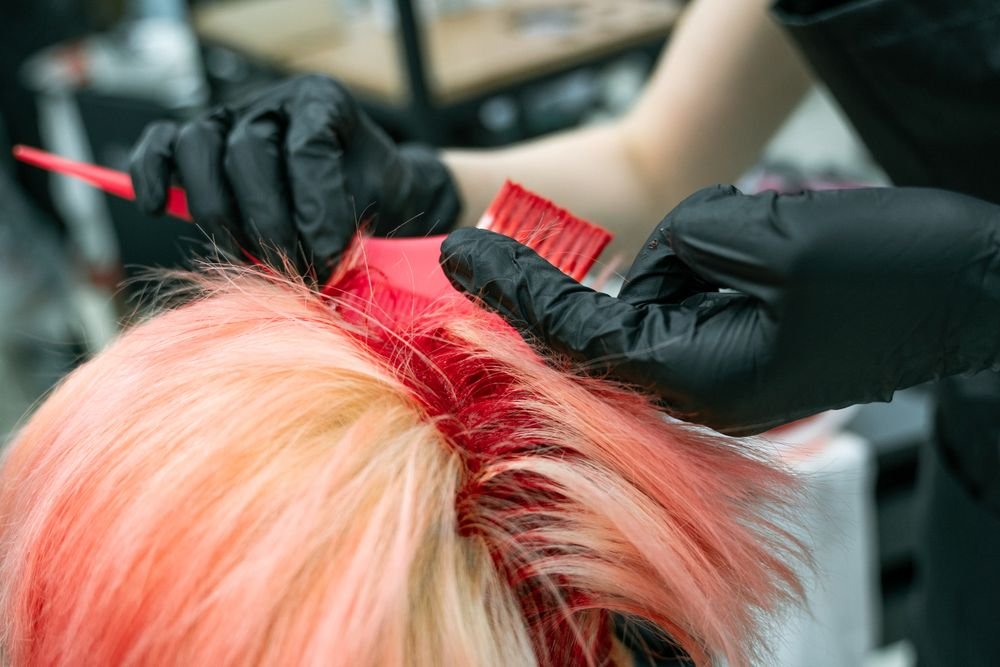
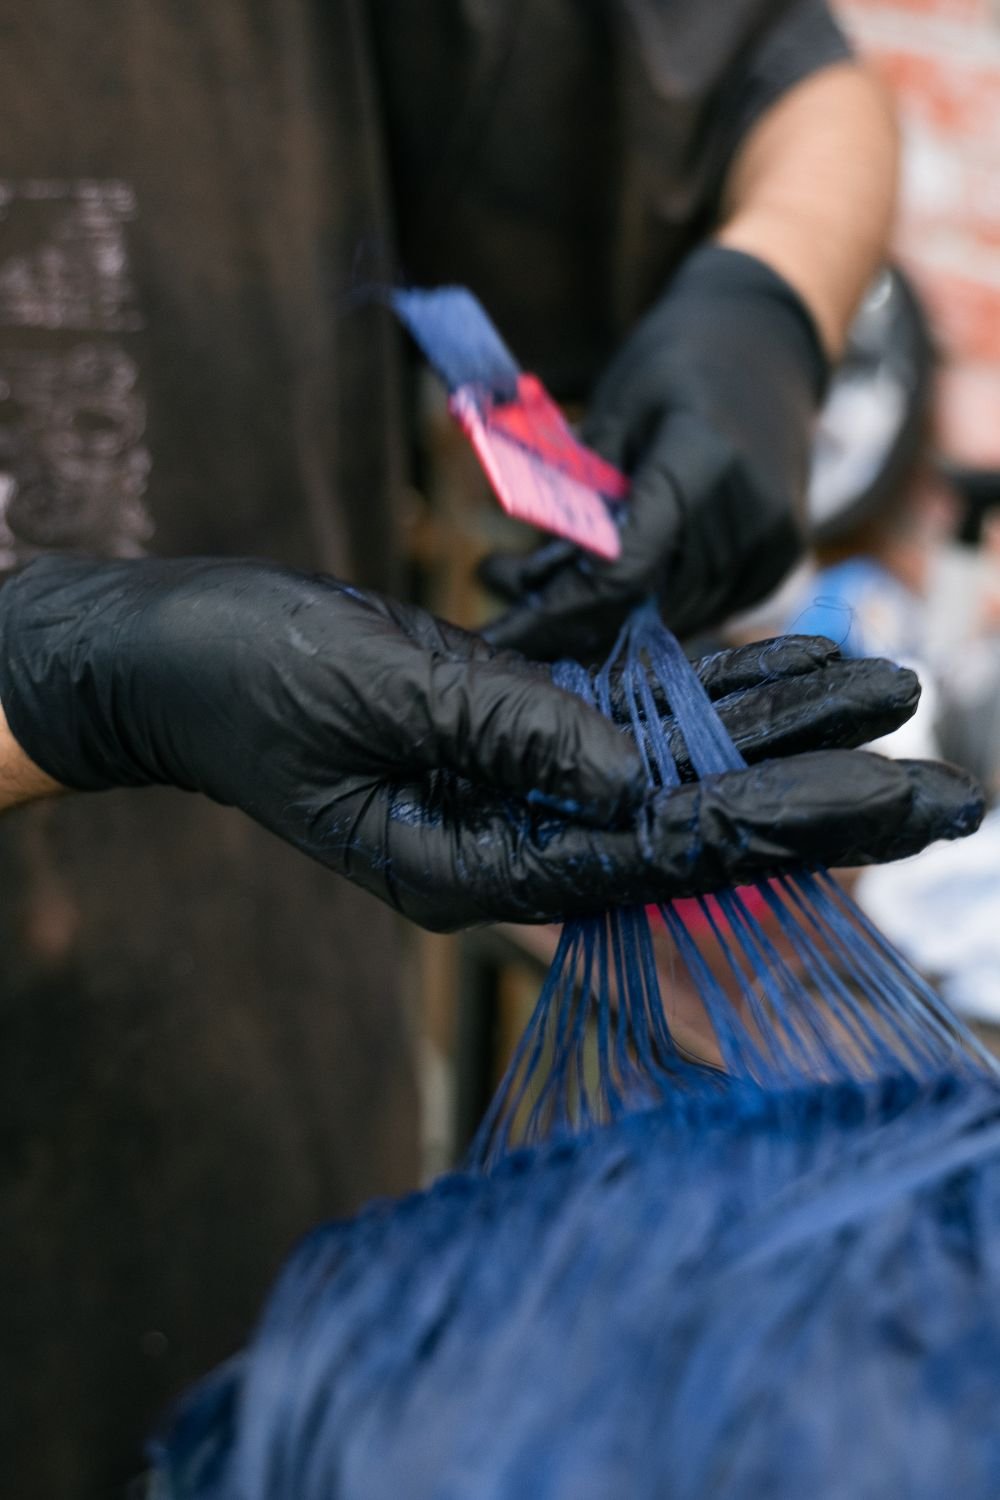
Teal and pink are both direct dyes, which means they can stain each other while they develop and while you rinse. The rule is simple: keep them apart until they are done. Your colourist should apply the two colours with a clear gap, foil the sections separately, and rinse each colour on its own — teal first, then pink — with cold water, before rinsing the whole head.
At home, the same logic applies. Rinse in cold water, and for the first two washes, rinse the pink and teal sections separately if you can manage it — lean your head so the pink side rinses to one side of the shower and the teal to the other. It sounds fussy. It is worth it. One lukewarm rinse with the colours running together gives you a mauve wash that no one asked for, and there is no un-smudging it.
The Wash-Day Routine That Protects Both Colours
Every wash takes a little colour with it, so the goal is simple: wash less, wash cold, wash gently. Two or three washes a week is the sweet spot for most people, with dry shampoo carrying you through the days in between. Use lukewarm to cold water — hot water opens the hair cuticle and lets the dye escape — and a sulphate-free shampoo made for coloured hair. And yes, colour-depositing conditioners exist for both of these shades: a pink conditioner once a week and a teal one every second week keeps both colours fed without much effort.
Wait at least 48 hours after your appointment before the first wash, however tempting it is. The dye needs that time to settle into the hair shaft, and washing early is the single biggest reason vivid colour looks tired by week two. Dry your hair with a microfibre towel rather than a rough cotton one, and keep hot styling to a minimum — heat fades both colours fast, so if you love your straighteners, use them on a lower heat and keep a heat protectant in the mix.
How These Two Colours Fade (and What to Do About It)
Honesty time: teal and pink do not fade at the same speed, and they do not fade into the same colours. Teal drifts towards a softer aqua-green and then a silvery sage, which most people actually love. Pink goes to a soft rose and then, if the base was very light, to a pale peachy blonde that can look washed out if you are not expecting it. The two-tone design buys you time with this — as the colours soften, they keep flattering each other, and the effect is more “sun-faded holiday” than “grown out”.
Plan a refresh every four to six weeks for the pink, every six to eight for the teal, and do them at home if your colourist showed you how — direct dyes are the easiest colour in the world to top up, because they do not need developer and they do not damage the hair. Top up the pink first, in between salon visits, and let the teal go a little longer: it will be the prettier of the two fades anyway.
What to Ask Your Colourist (and What It Costs)
Walk in with these questions and you will get an honest answer instead of a sales pitch. How many levels will my hair need to lift, and can we do it in one session? Will you strand-test first? How are you keeping the teal and pink apart while they process? What will the refresh cost, and can you show me how to top it up at home? And what should I expect at week four? Any colourist who answers all five without hesitating is the one you want.
On cost, expect a full two-colour service with bleach to sit well above a single-process colour — this is a long appointment, commonly three to five hours, with more product and more skill involved. Panels and underlayers cost noticeably less than a full split dye because they use less bleach and less dye. Ask for the refresh price separately from the first appointment price, because the first appointment is the expensive one; after that, you are mostly paying for top-ups. For more colour inspiration across the site, browse our Hair Ideas archive — there is something there for every version of dark hair.
Save This for Later: Your Teal and Pink Pinterest Pin
If any of these ideas made you stop scrolling, save the pin below so you can find it again when you are in the salon chair — your colourist will thank you for showing them a picture instead of trying to describe “teal, but not too teal”.

Need the perfect caption for your pin? Try Nova Fashion’s free Pinterest caption generator — it writes pin titles and descriptions for you in seconds.
Whatever version you choose, save your placement combo before your appointment: take a screenshot of the idea you love, note the two shades you want, and bring it all to your colourist. Teal and pink on dark hair rewards the people who plan — and once you see those two colours side by side, in your mirror and in your light, you will understand why so many people never go back to a single colour again.